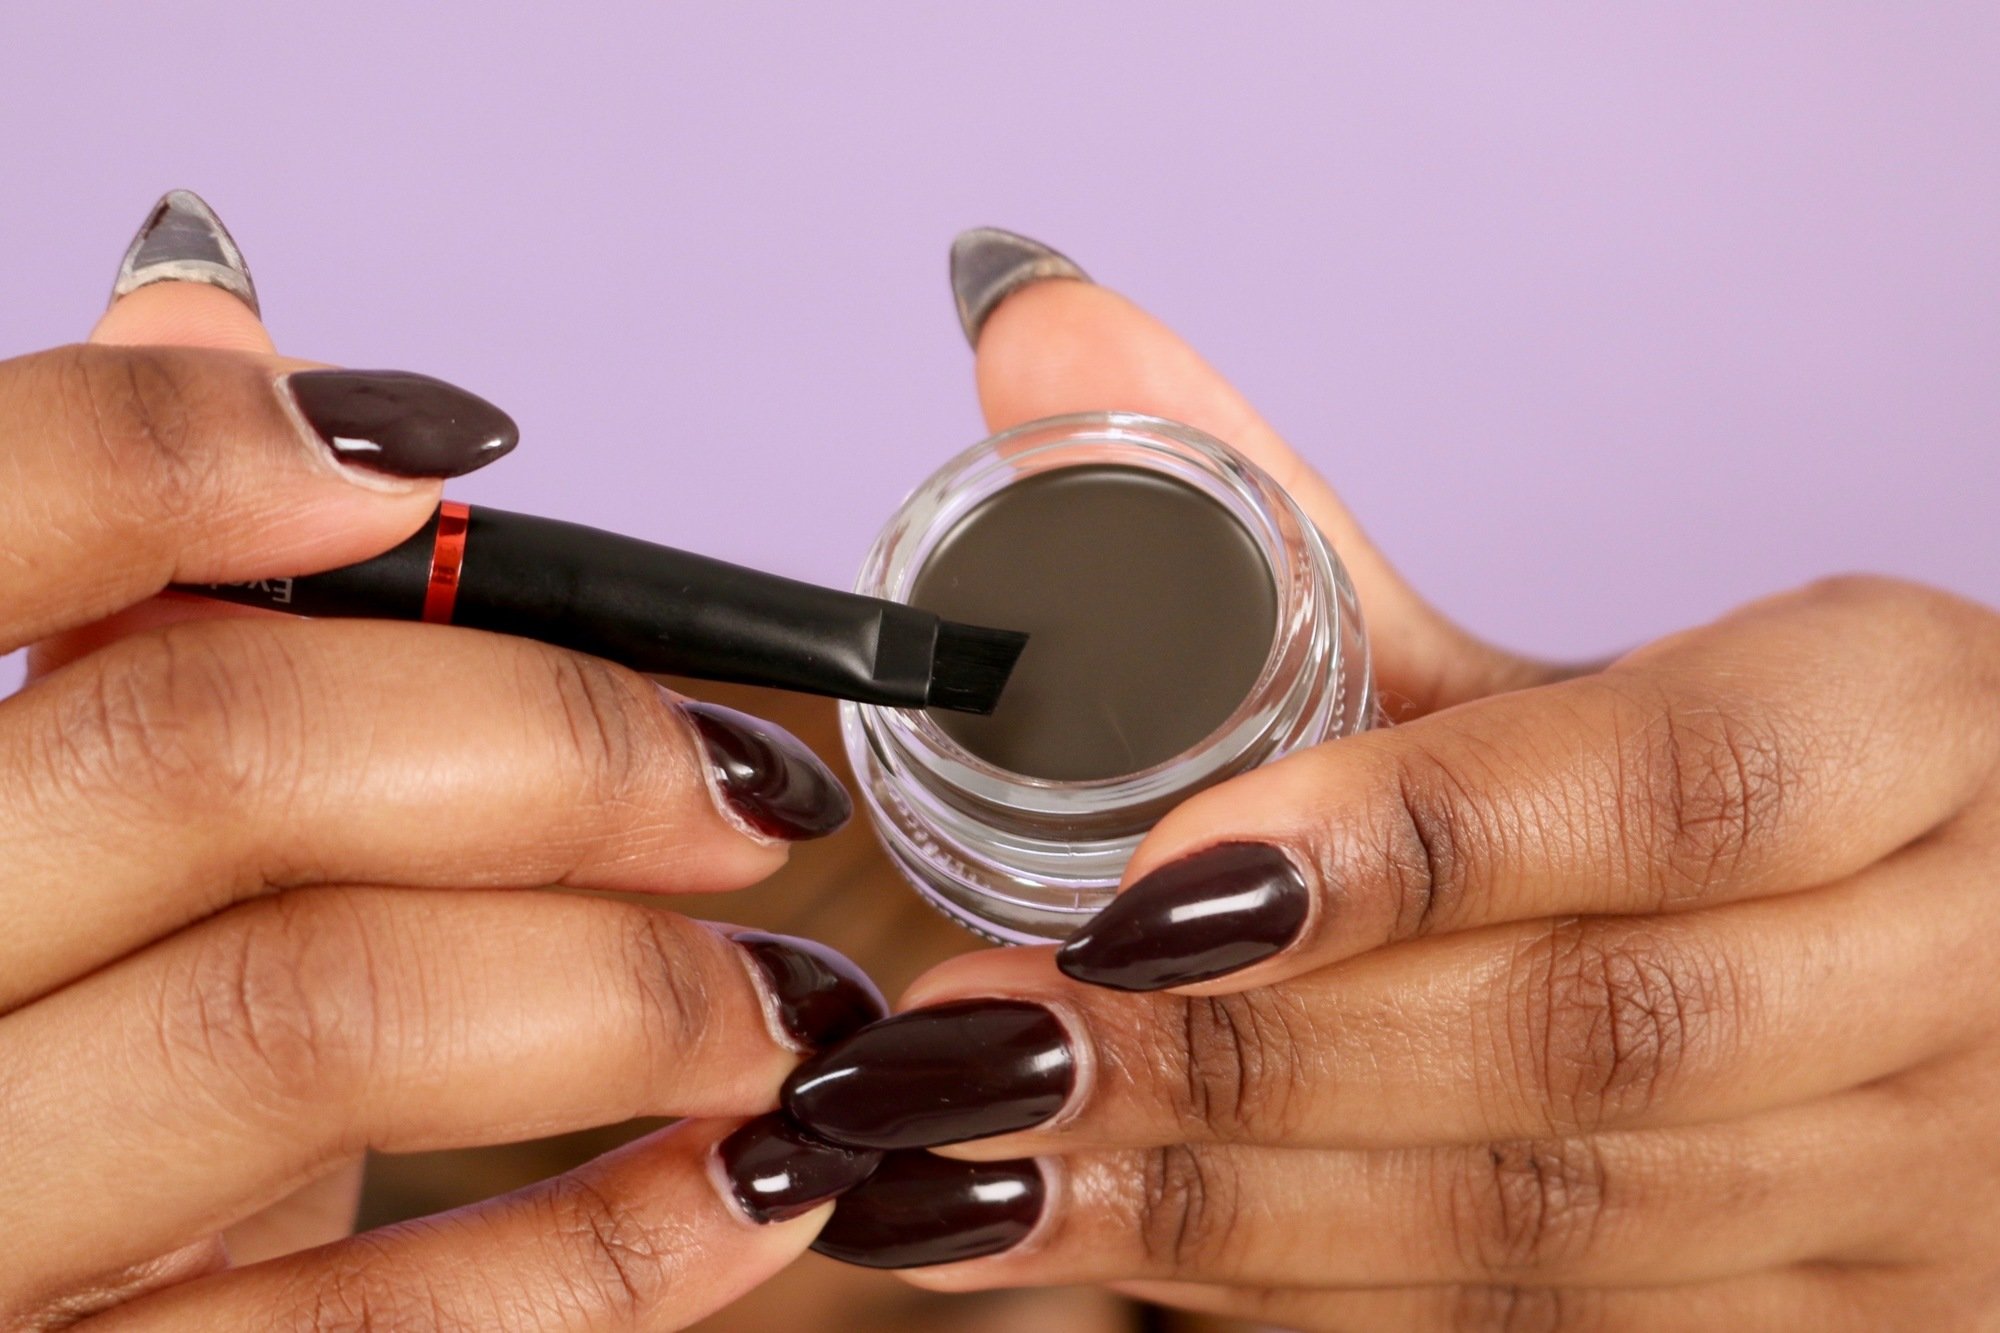
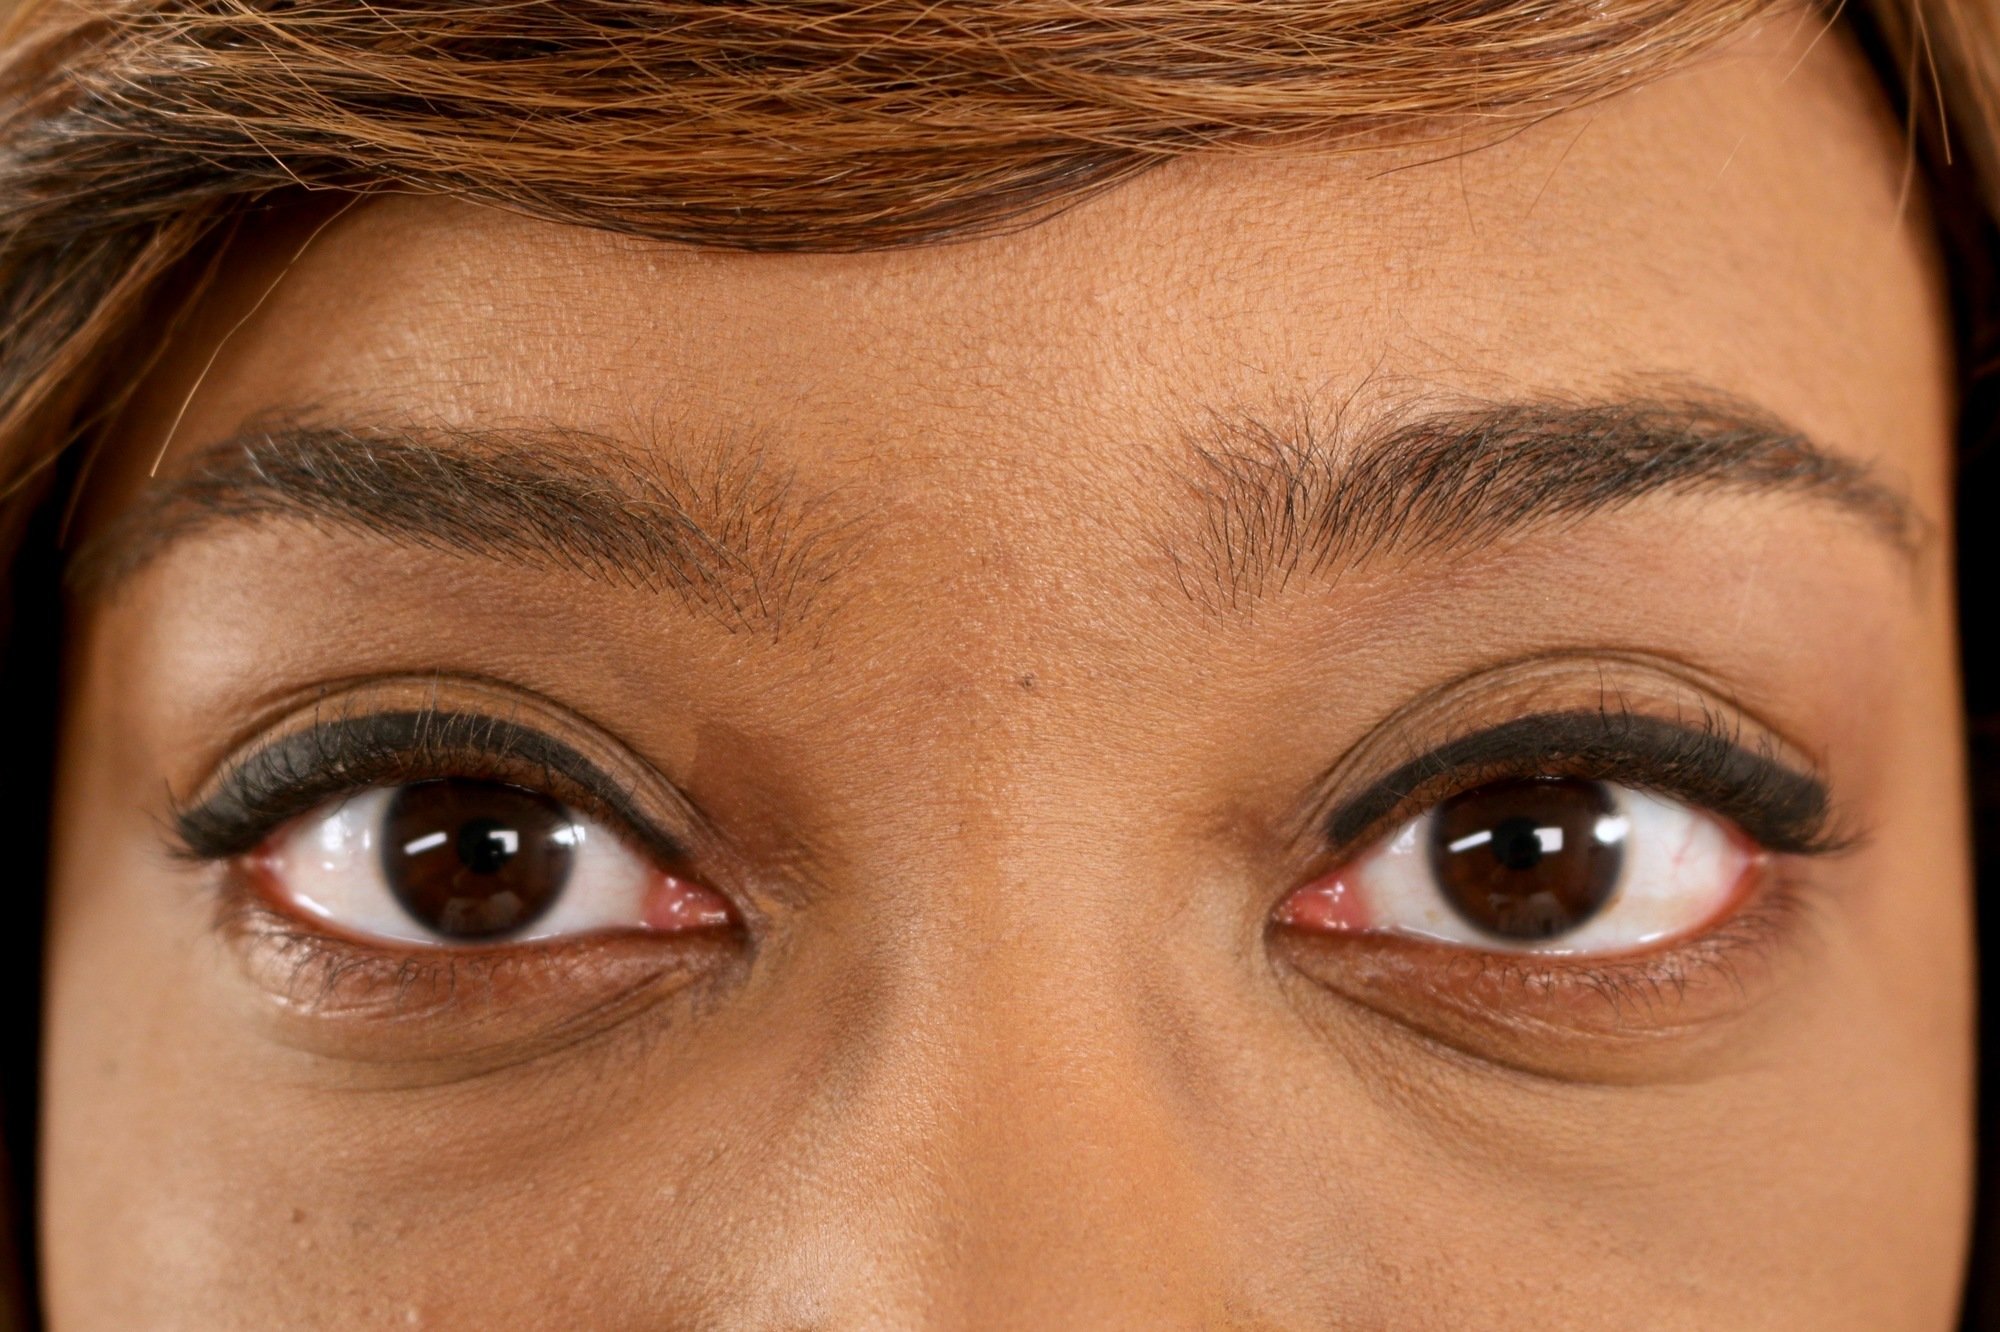
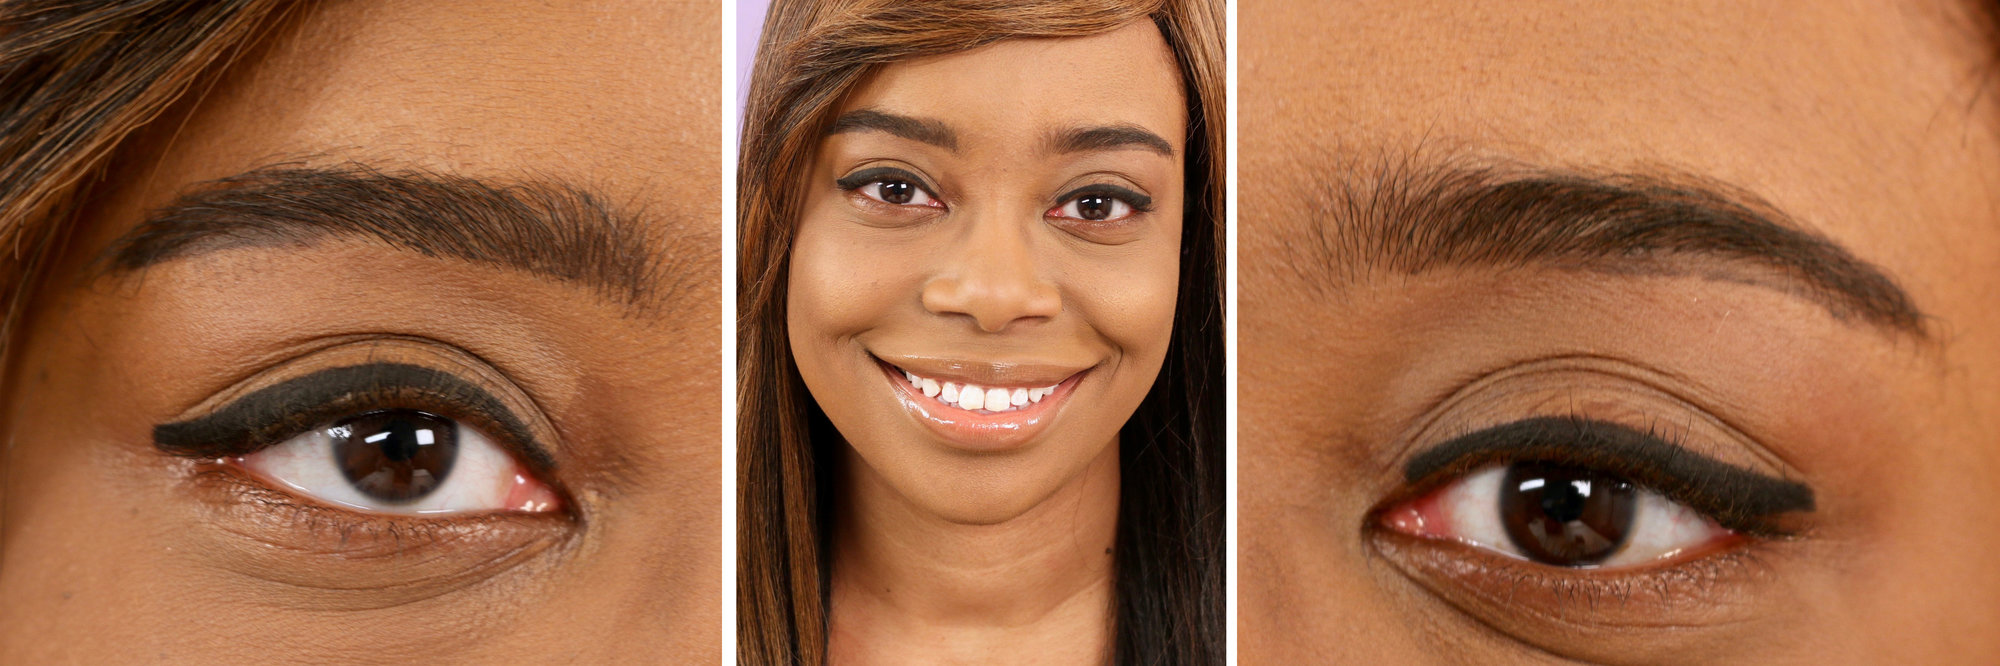
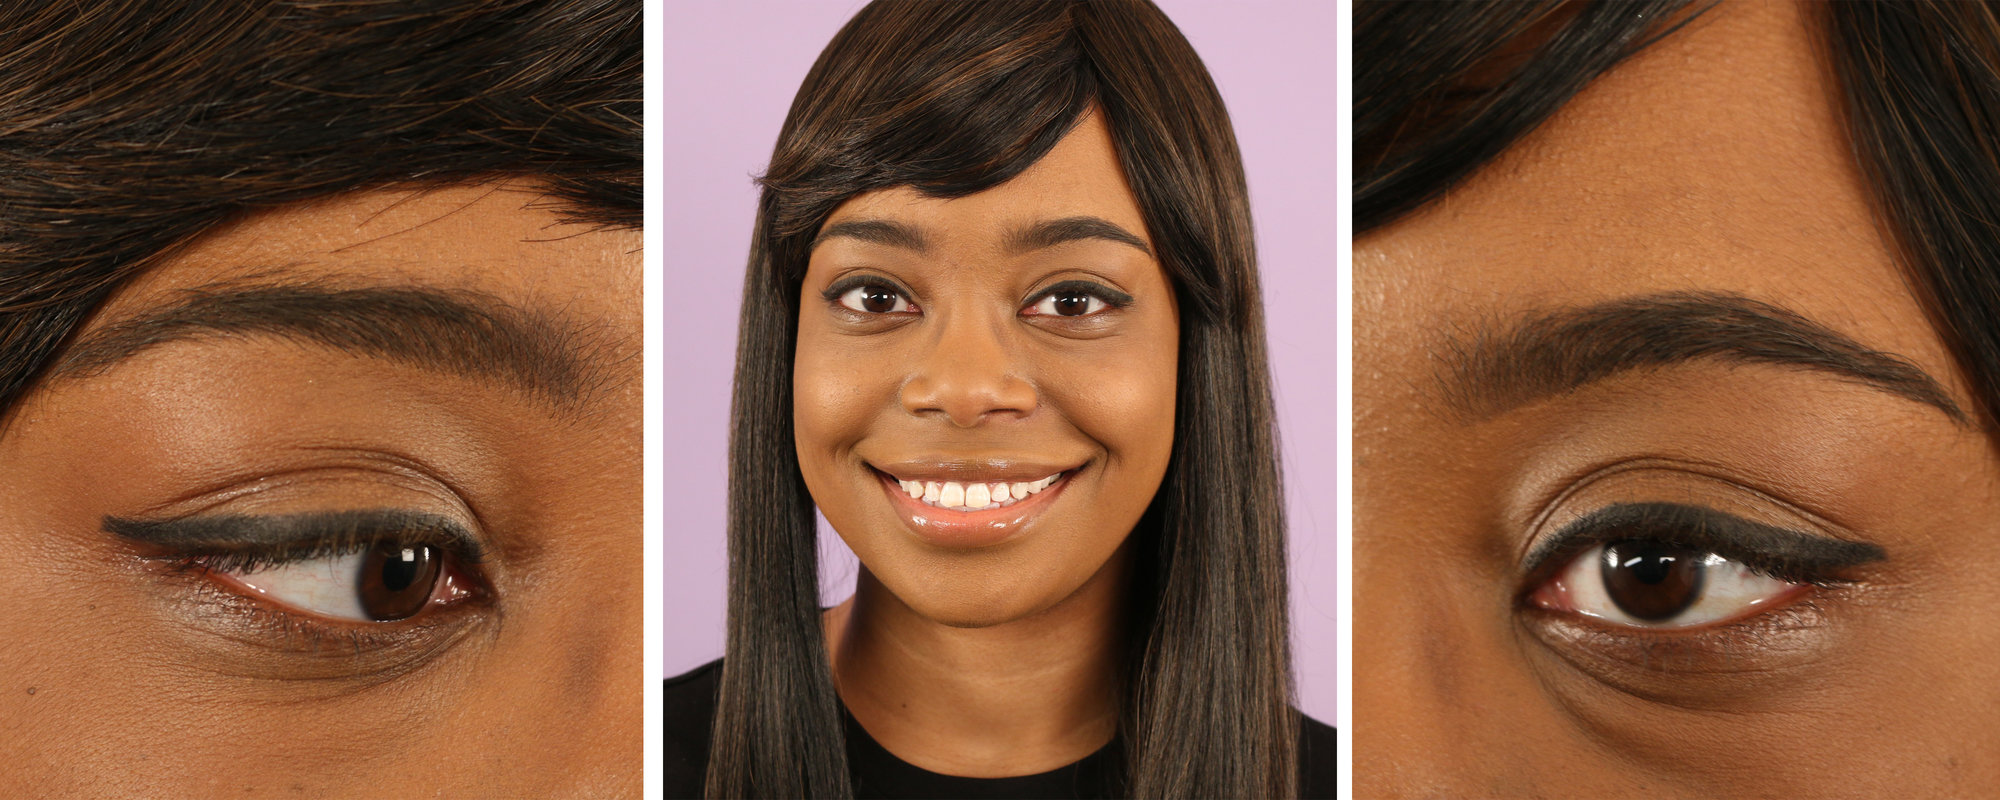
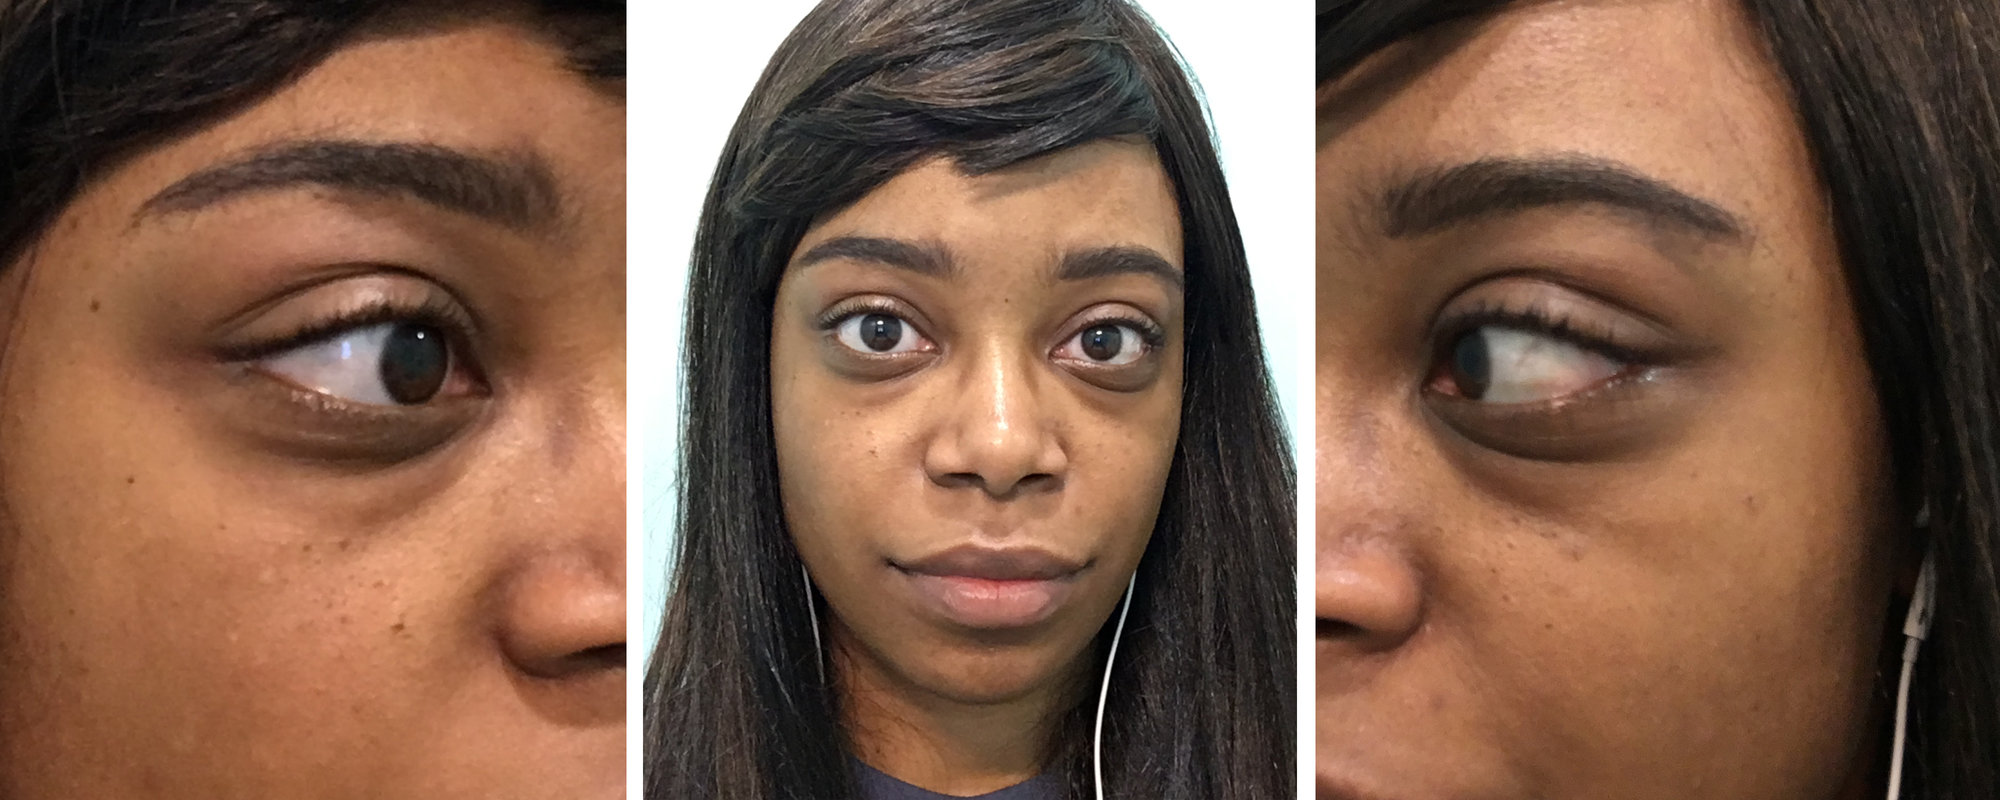
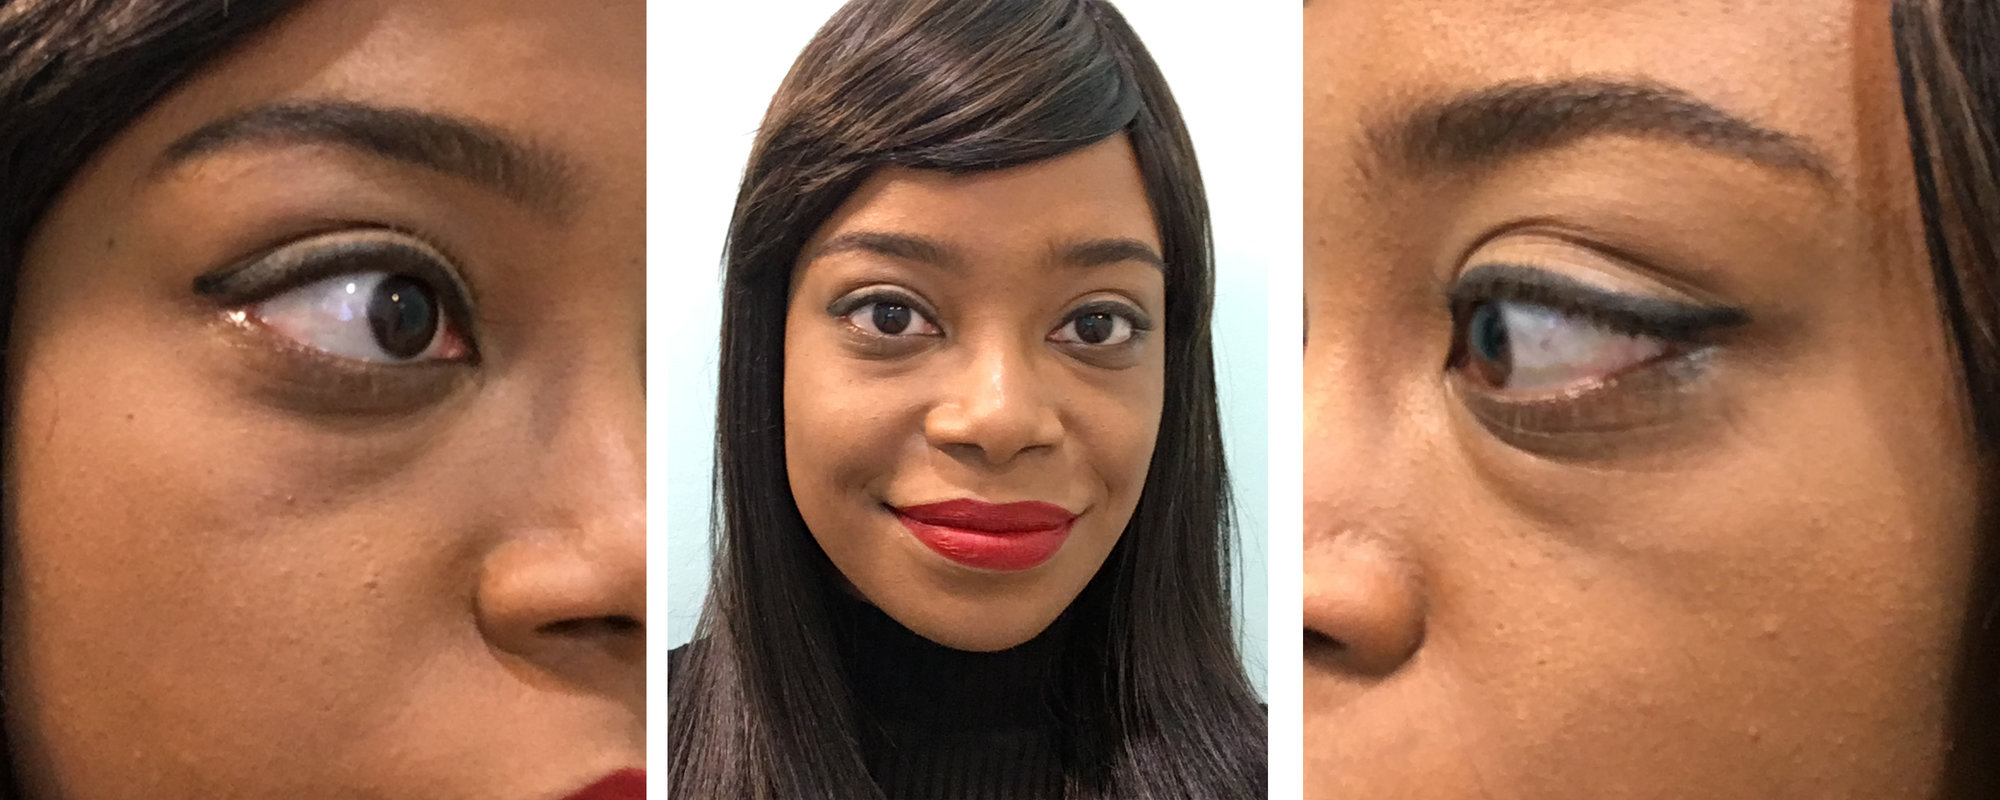
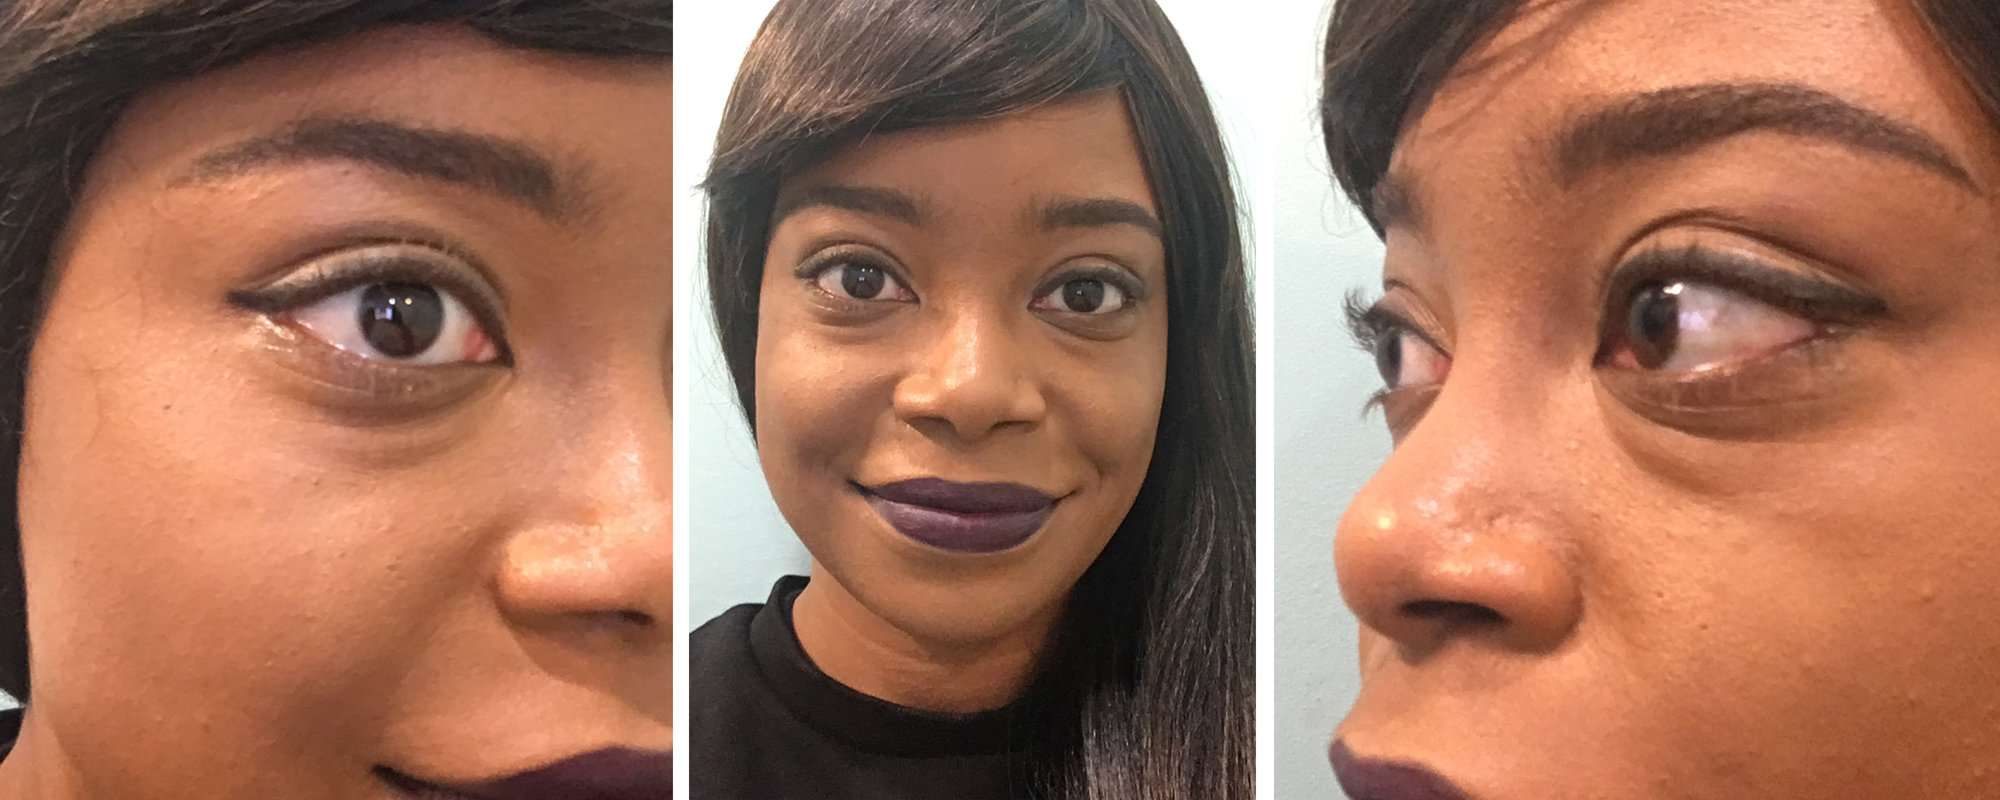
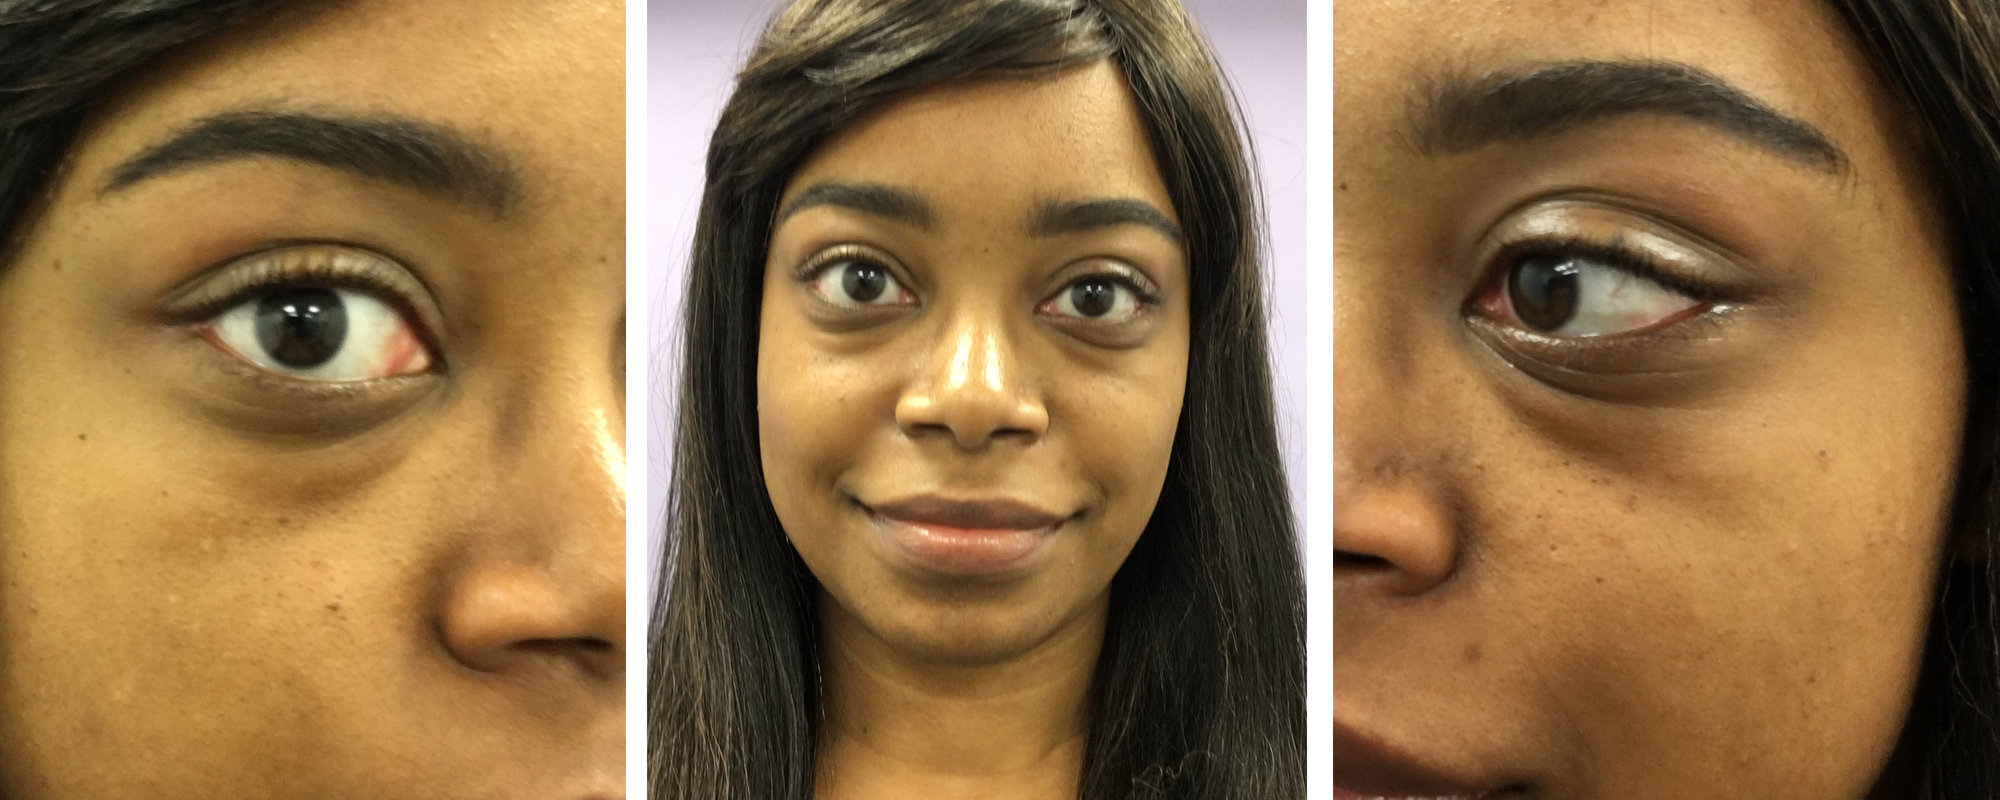
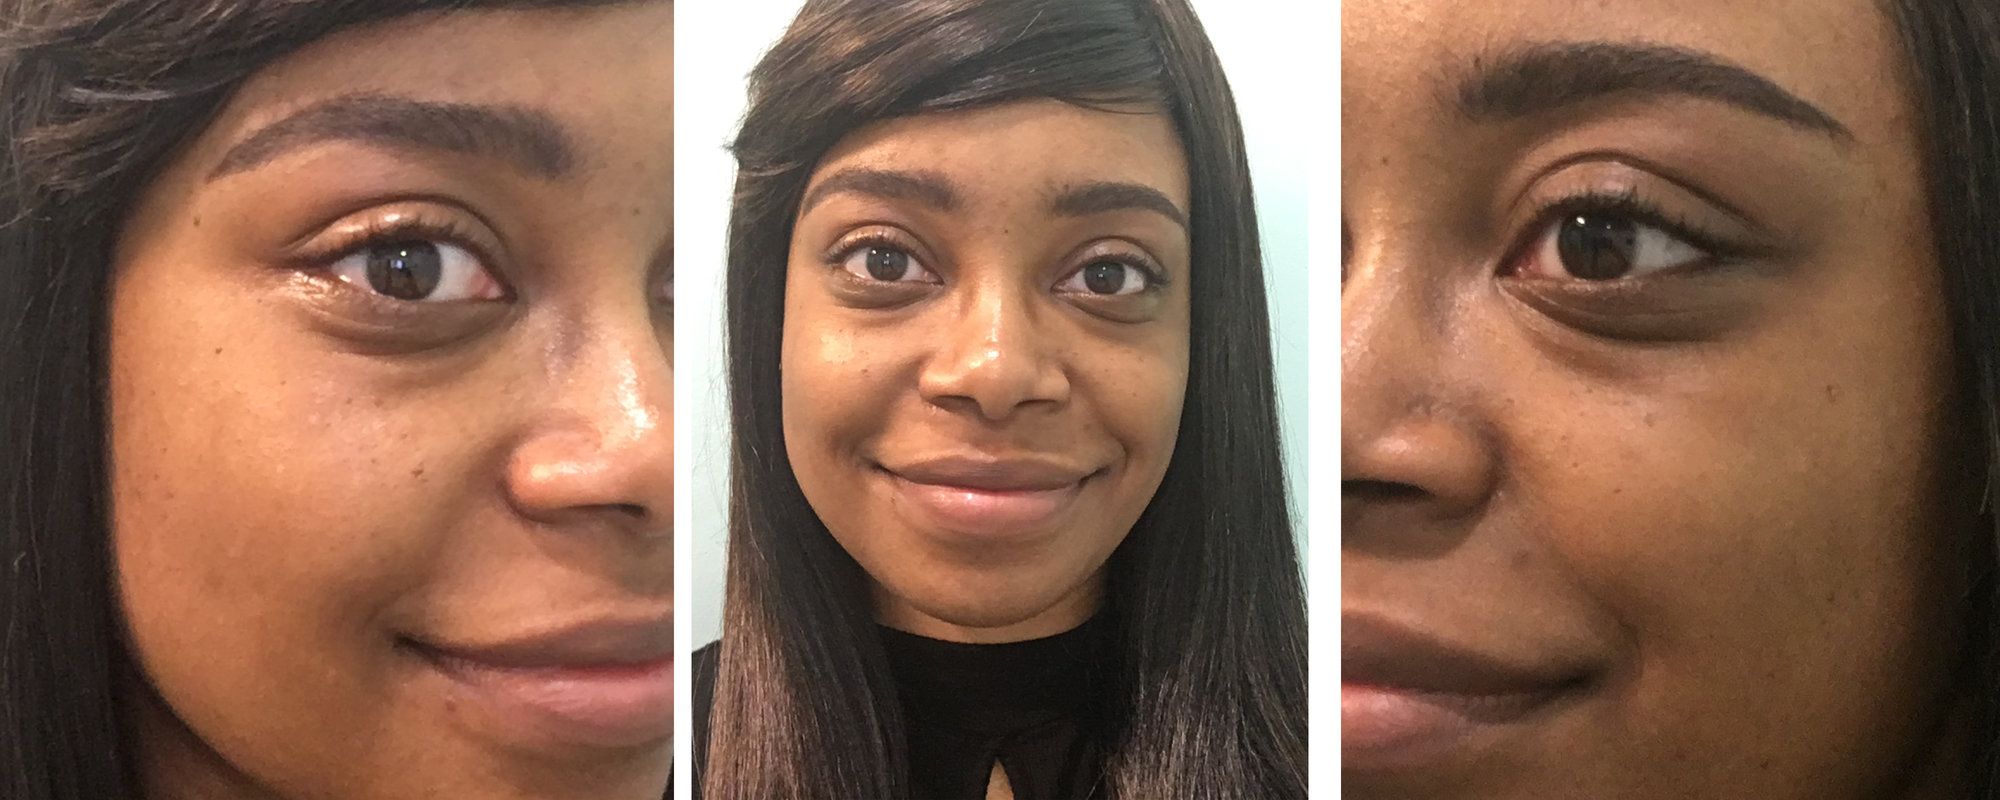
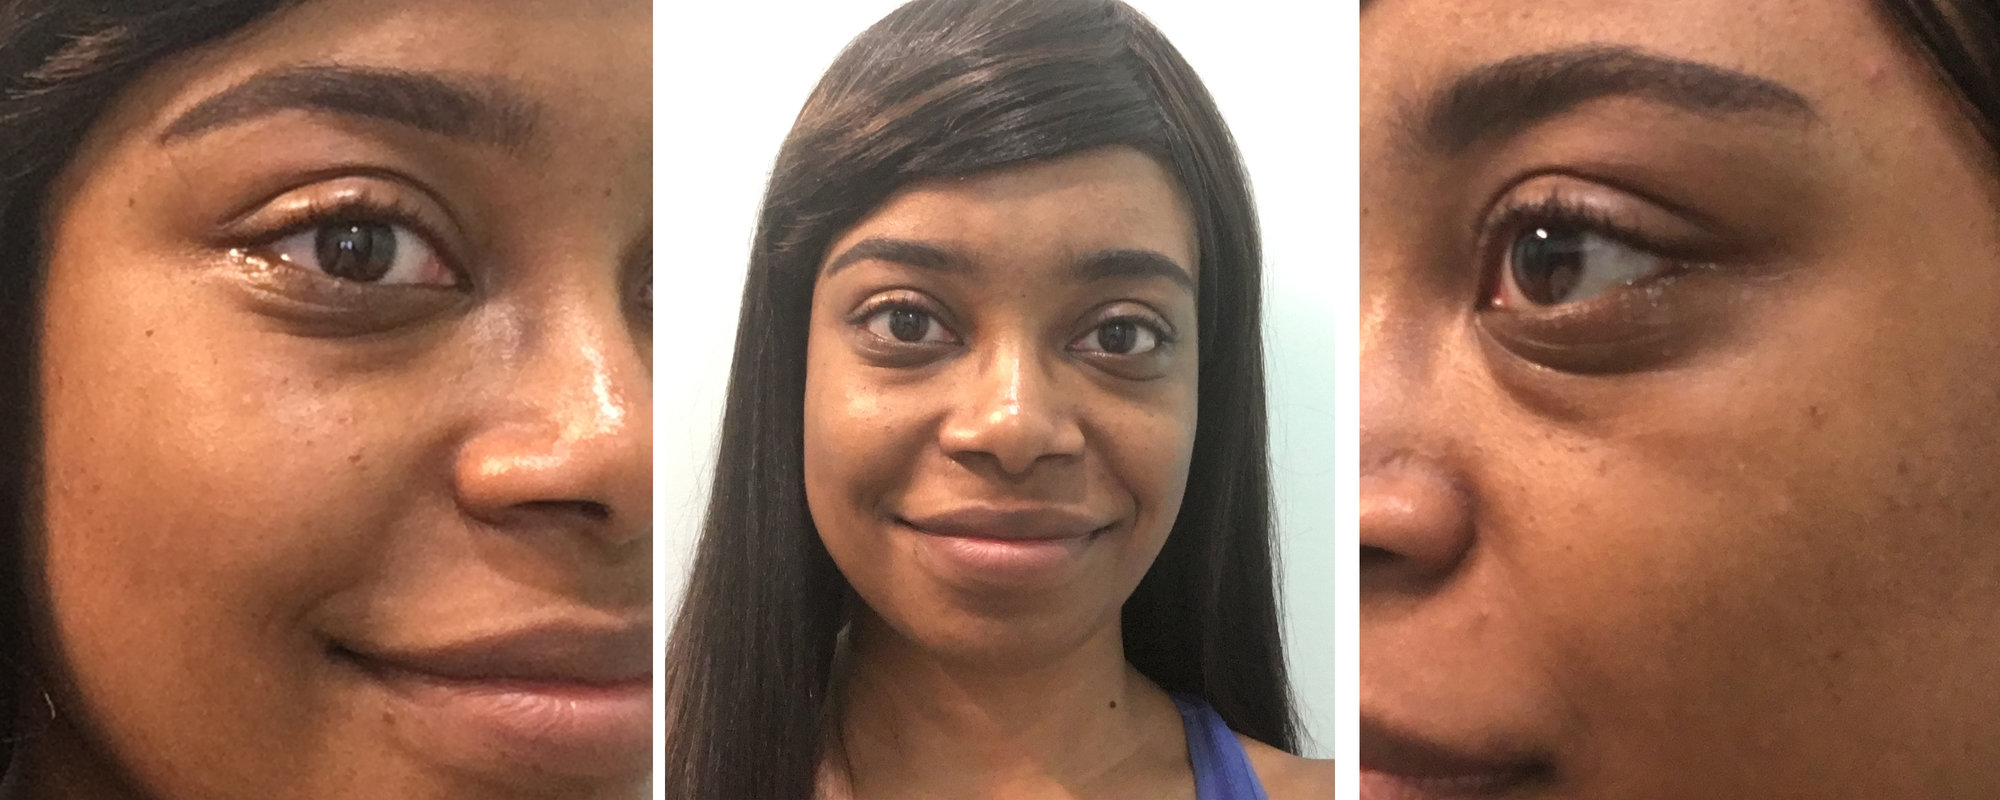
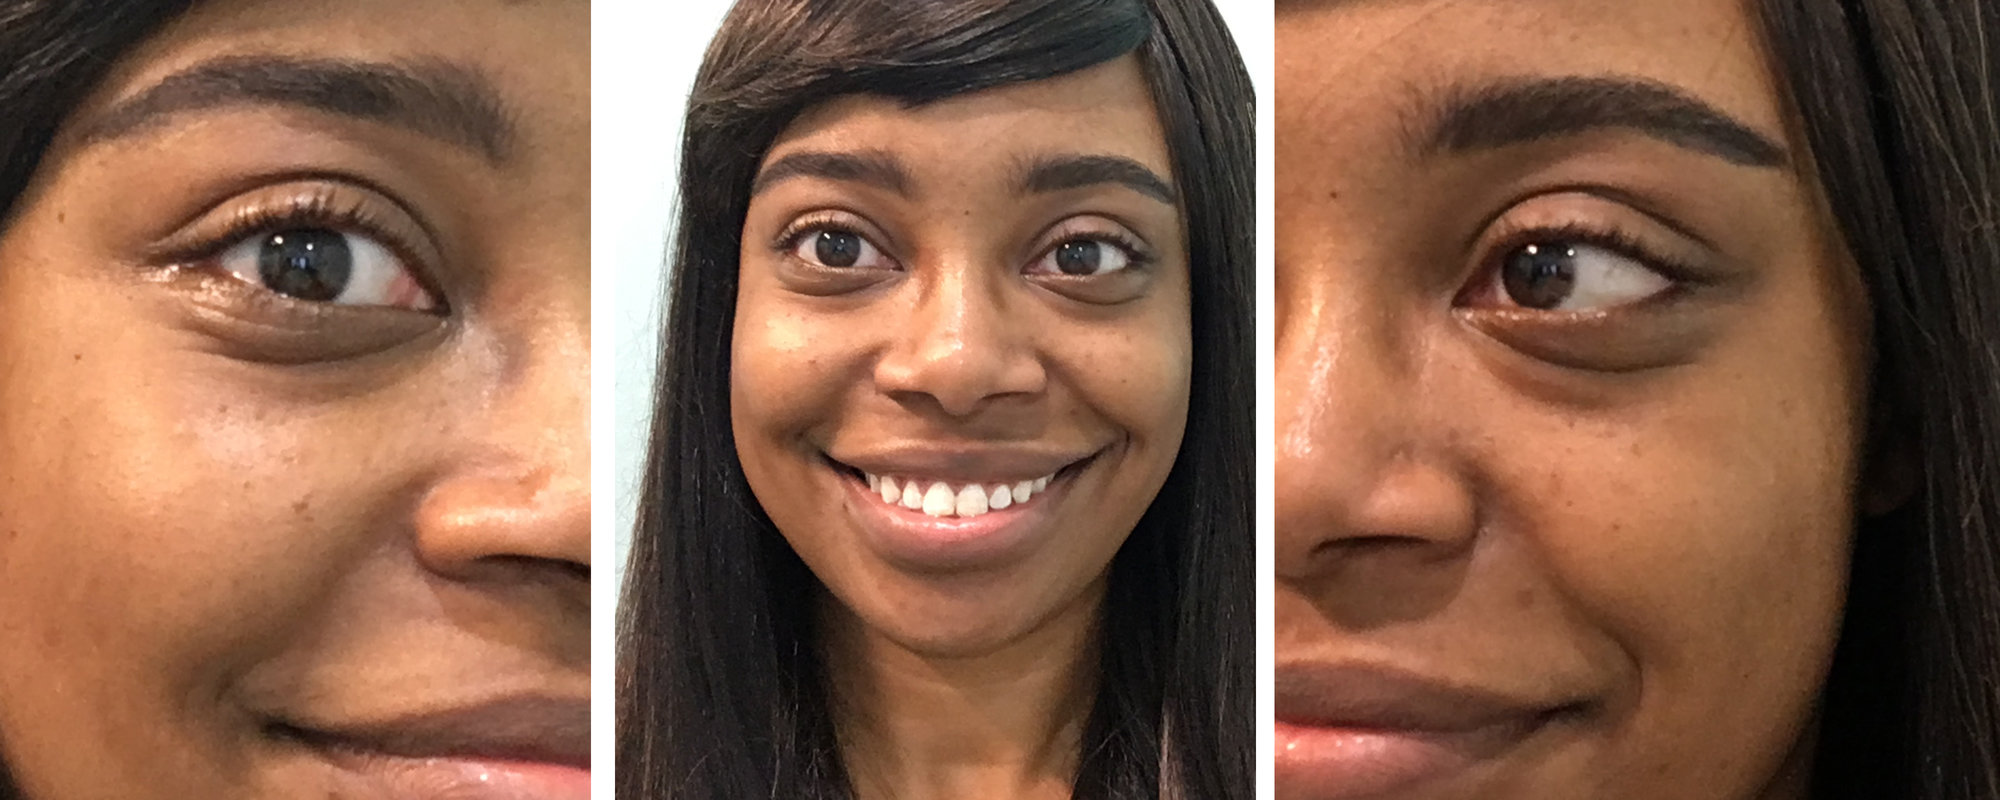
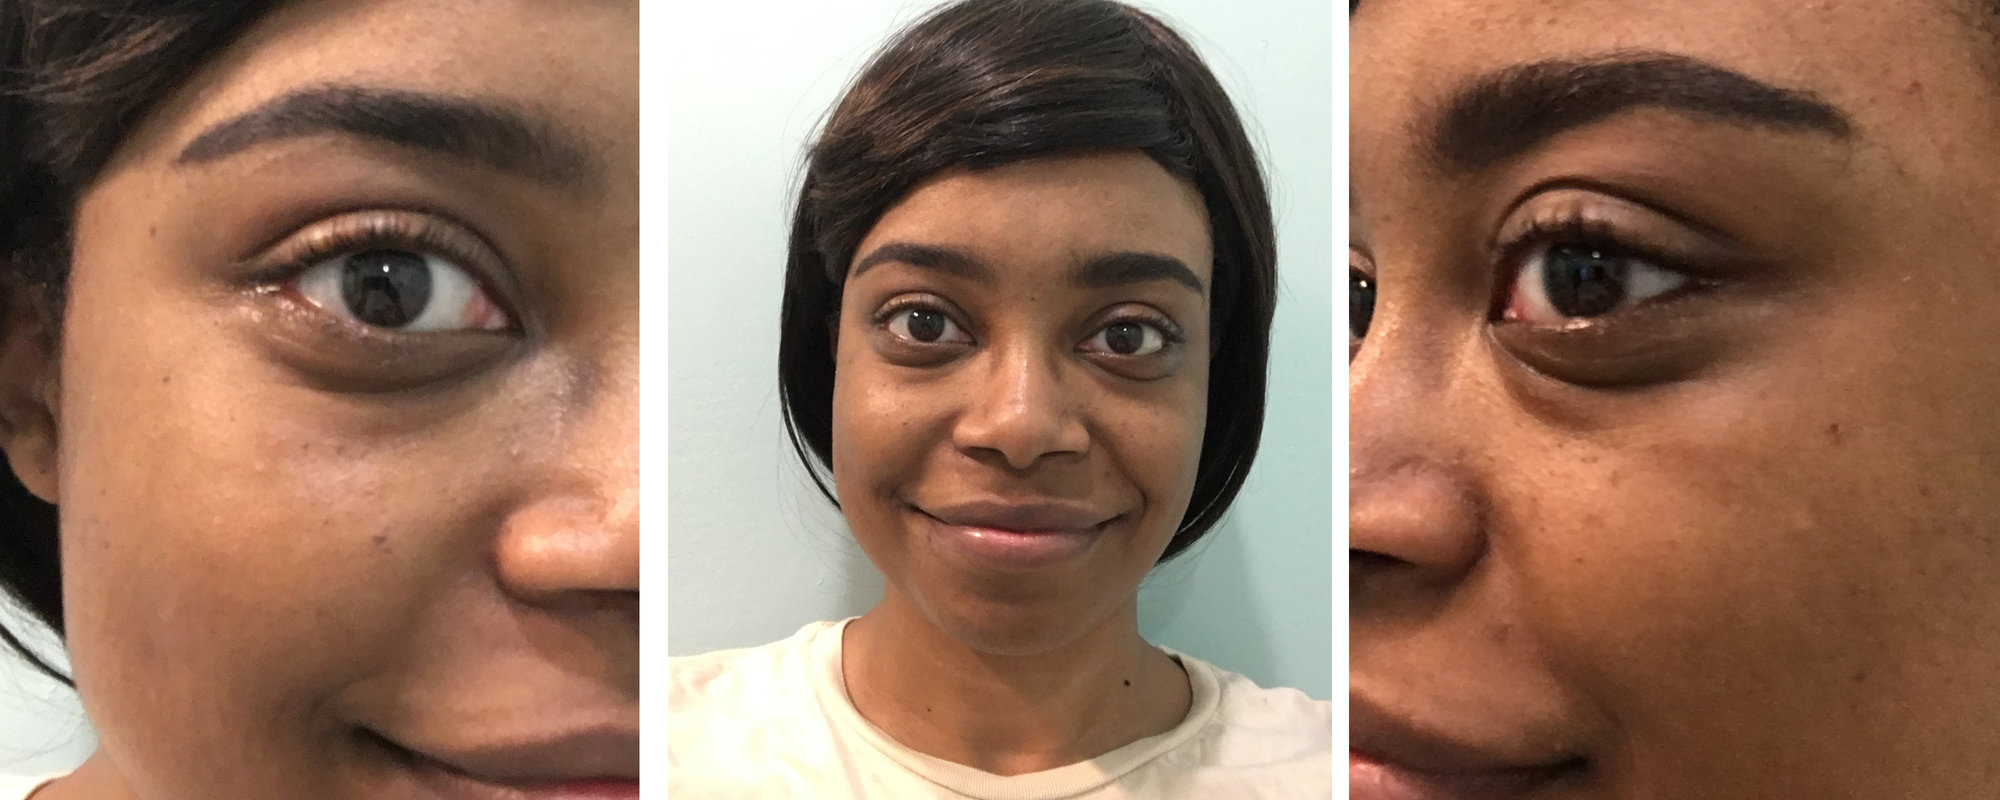
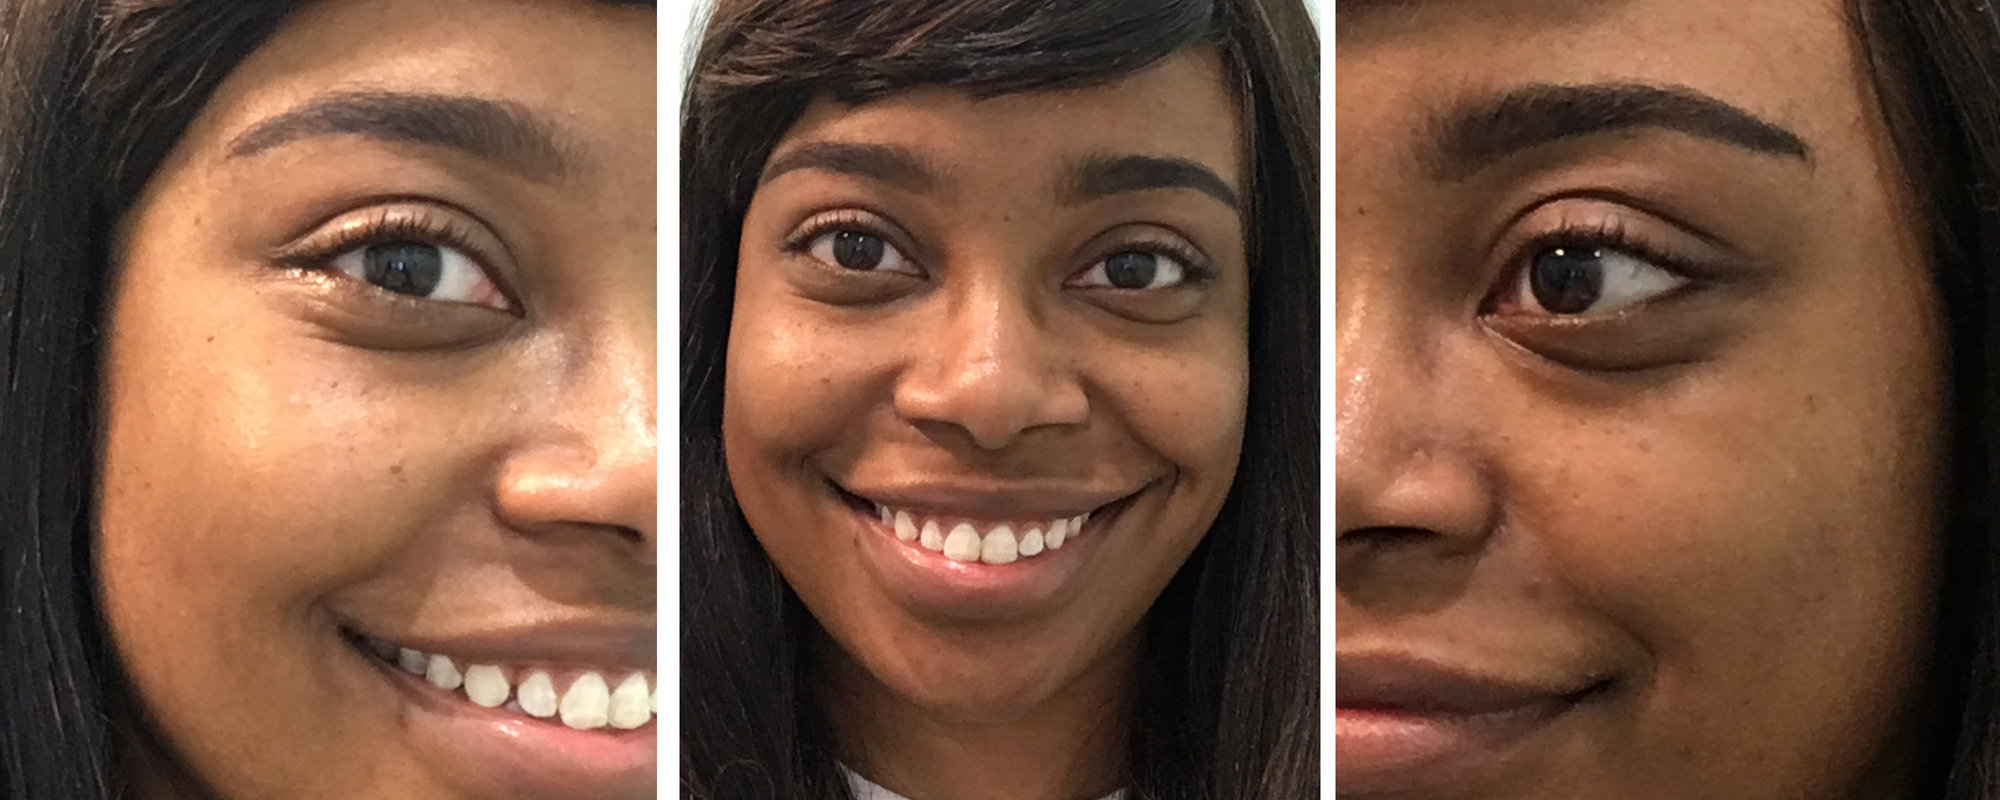
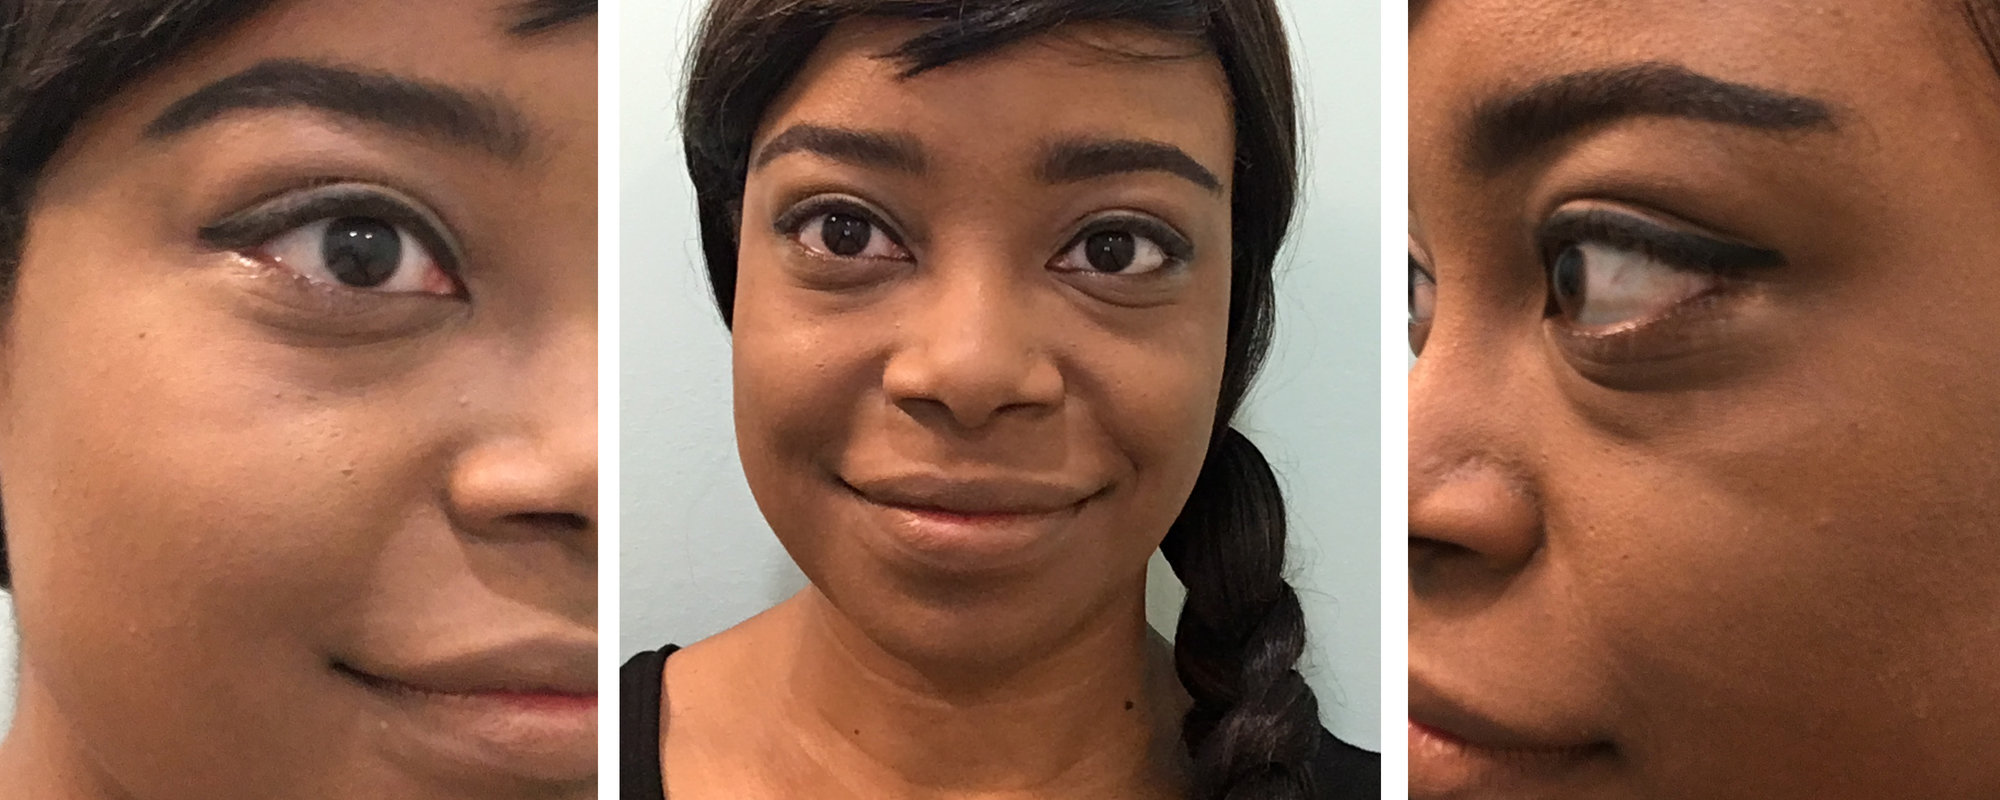
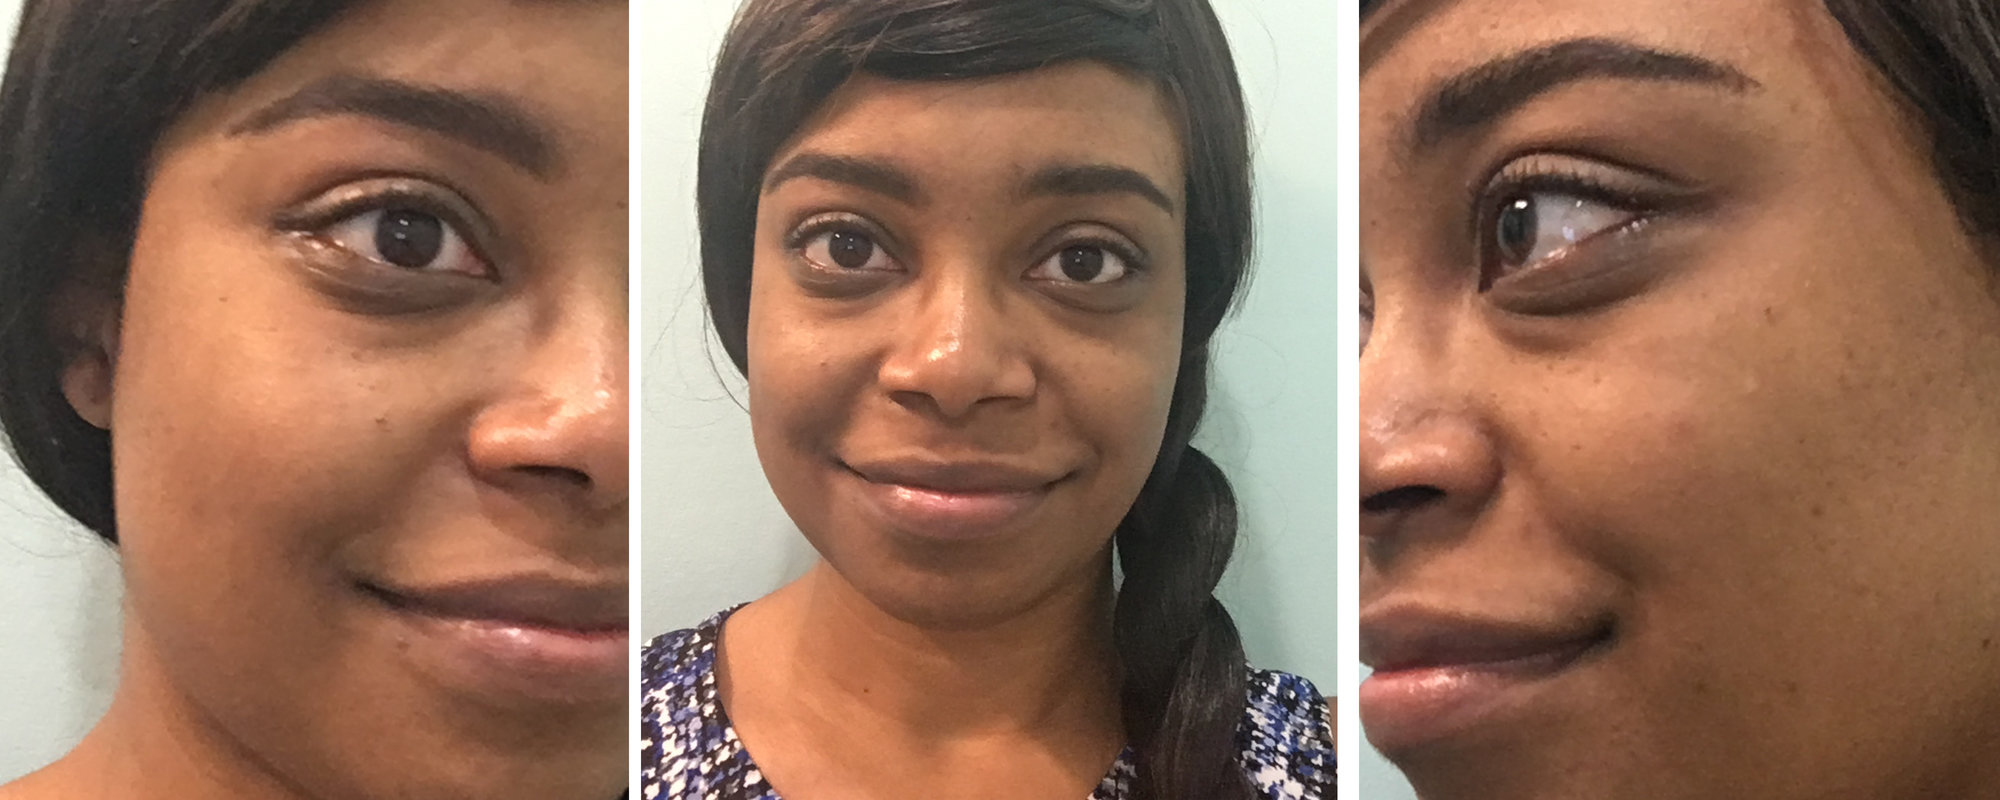
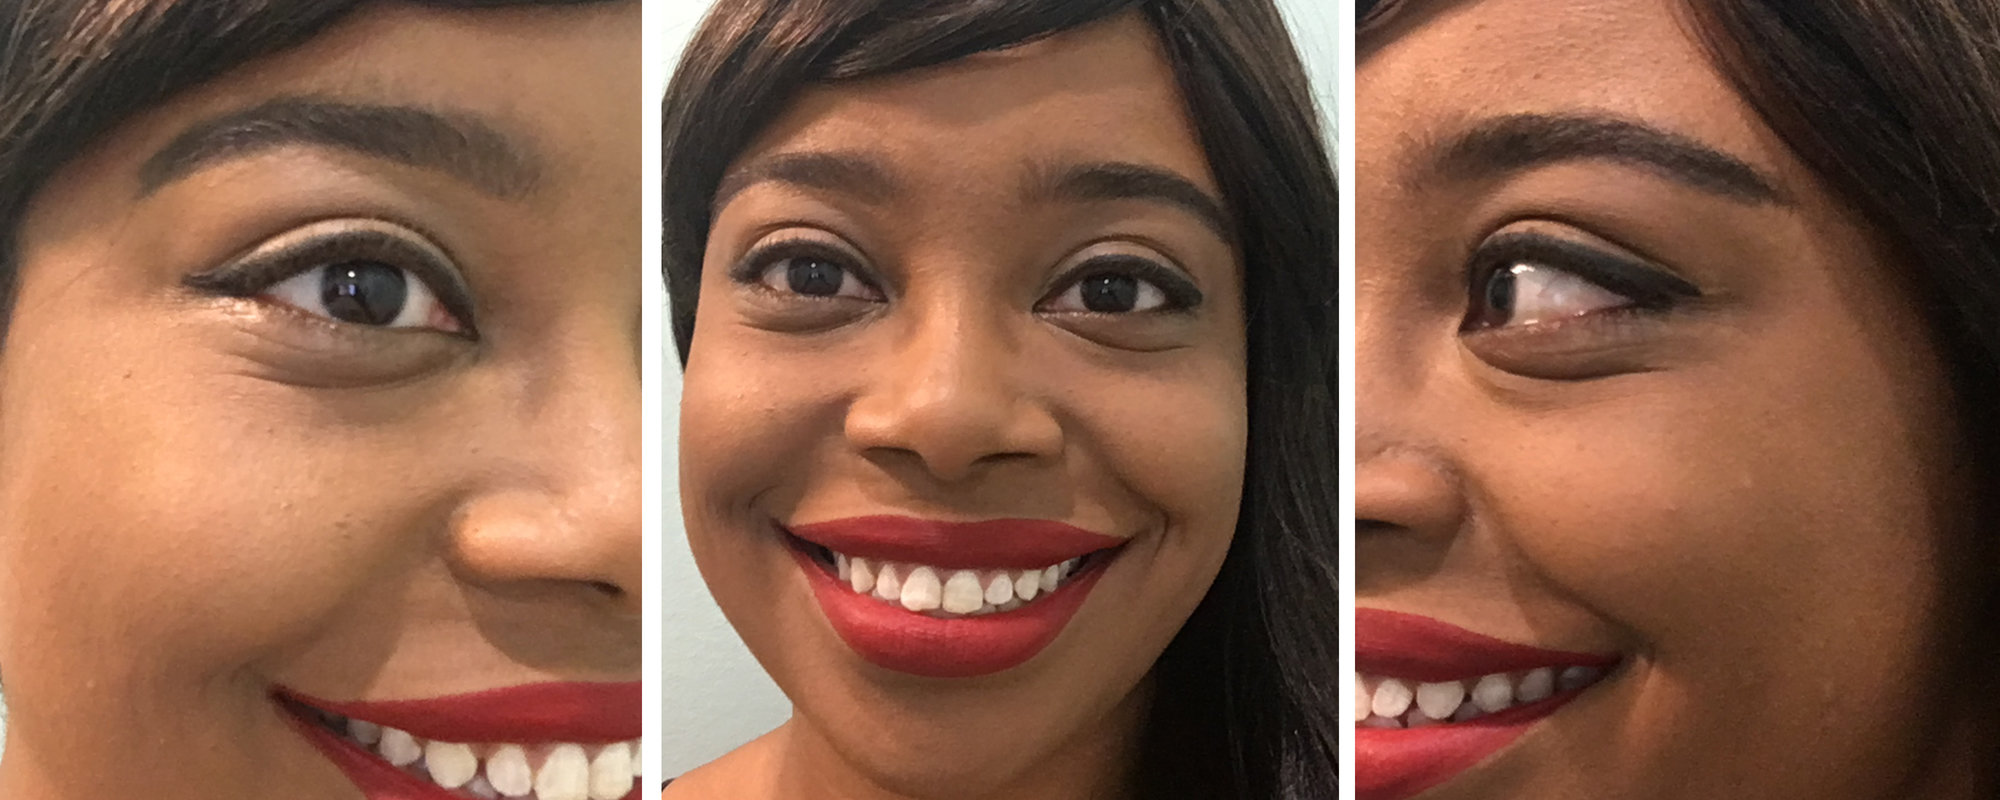
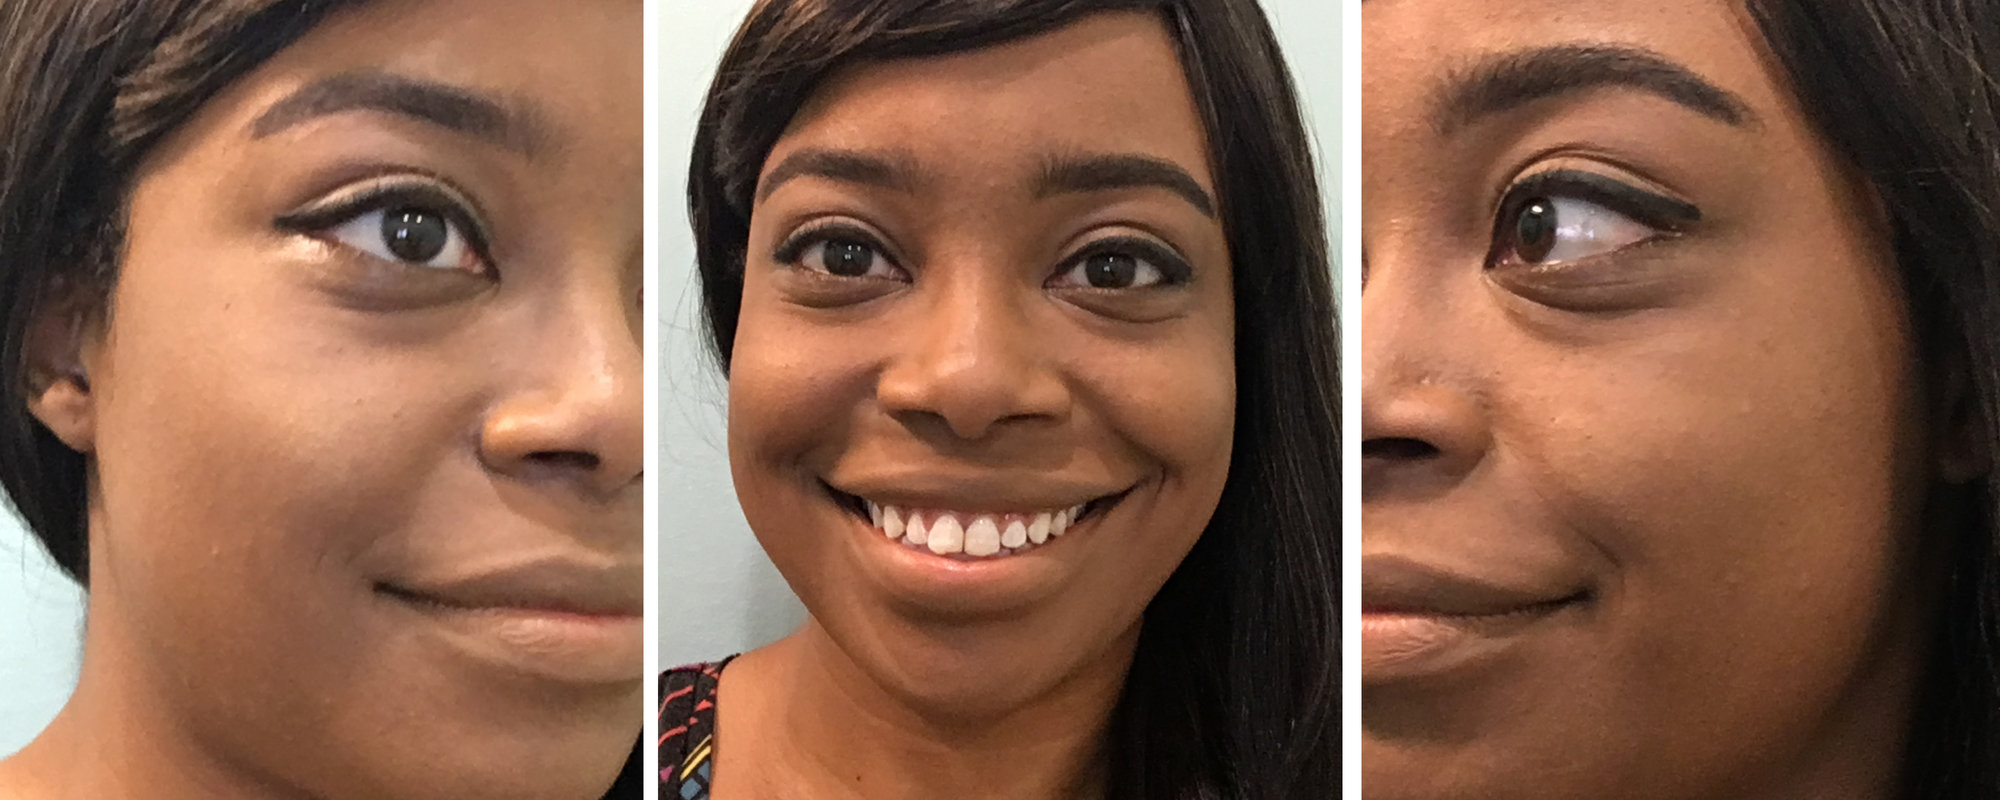
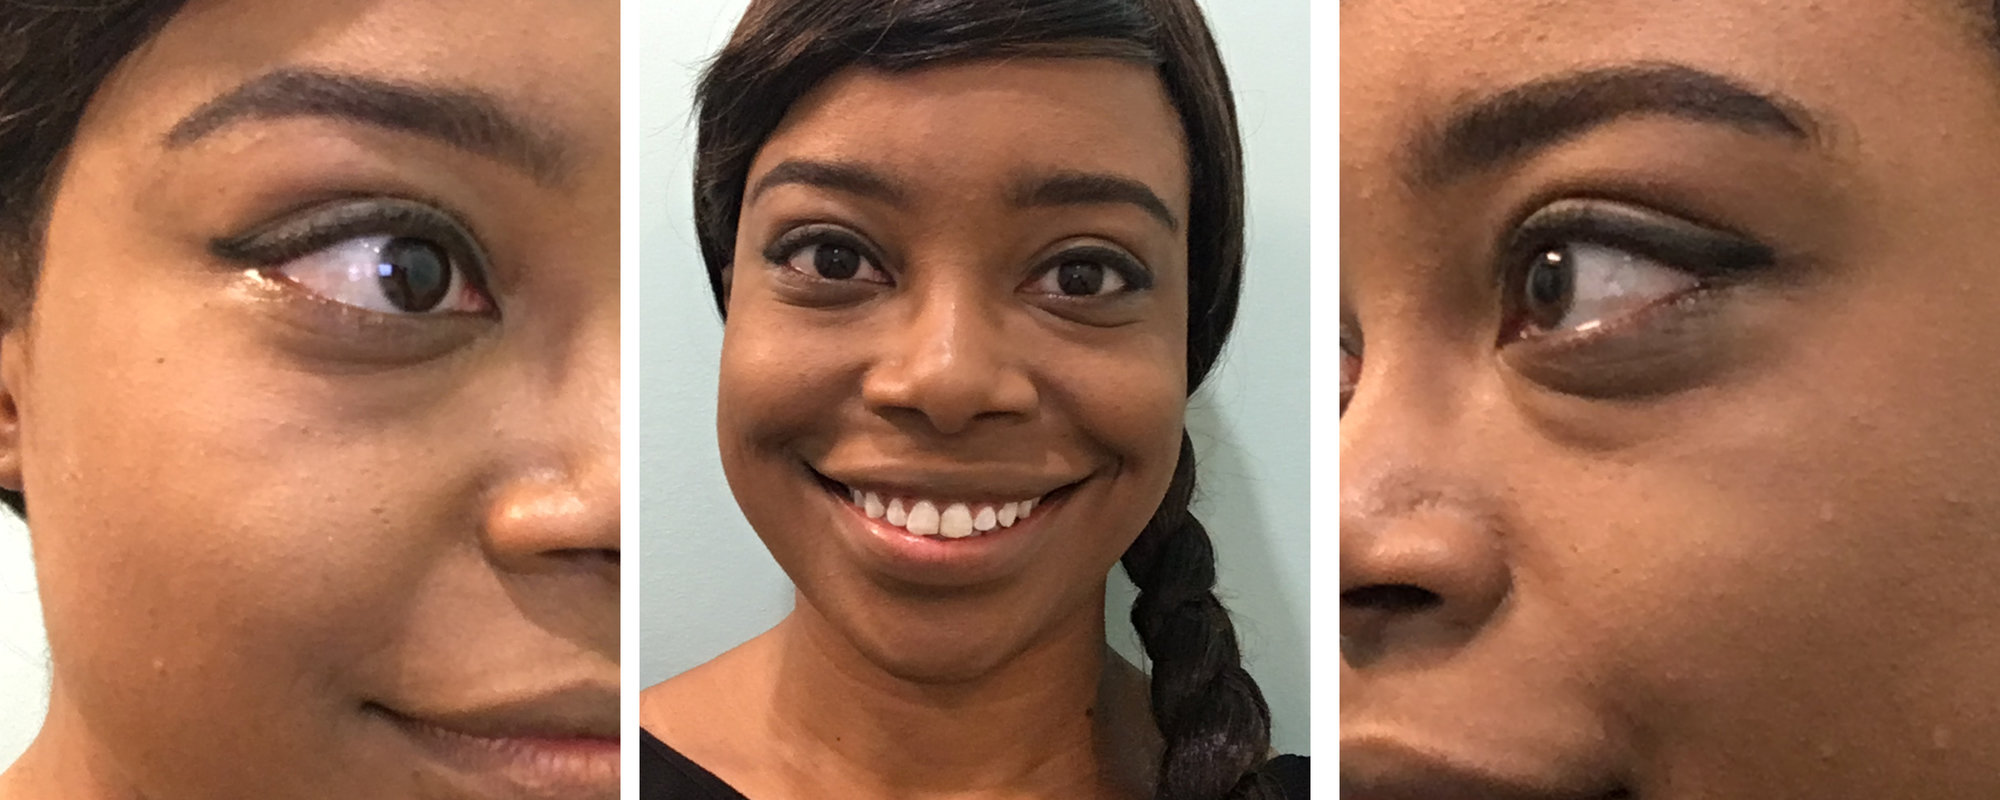
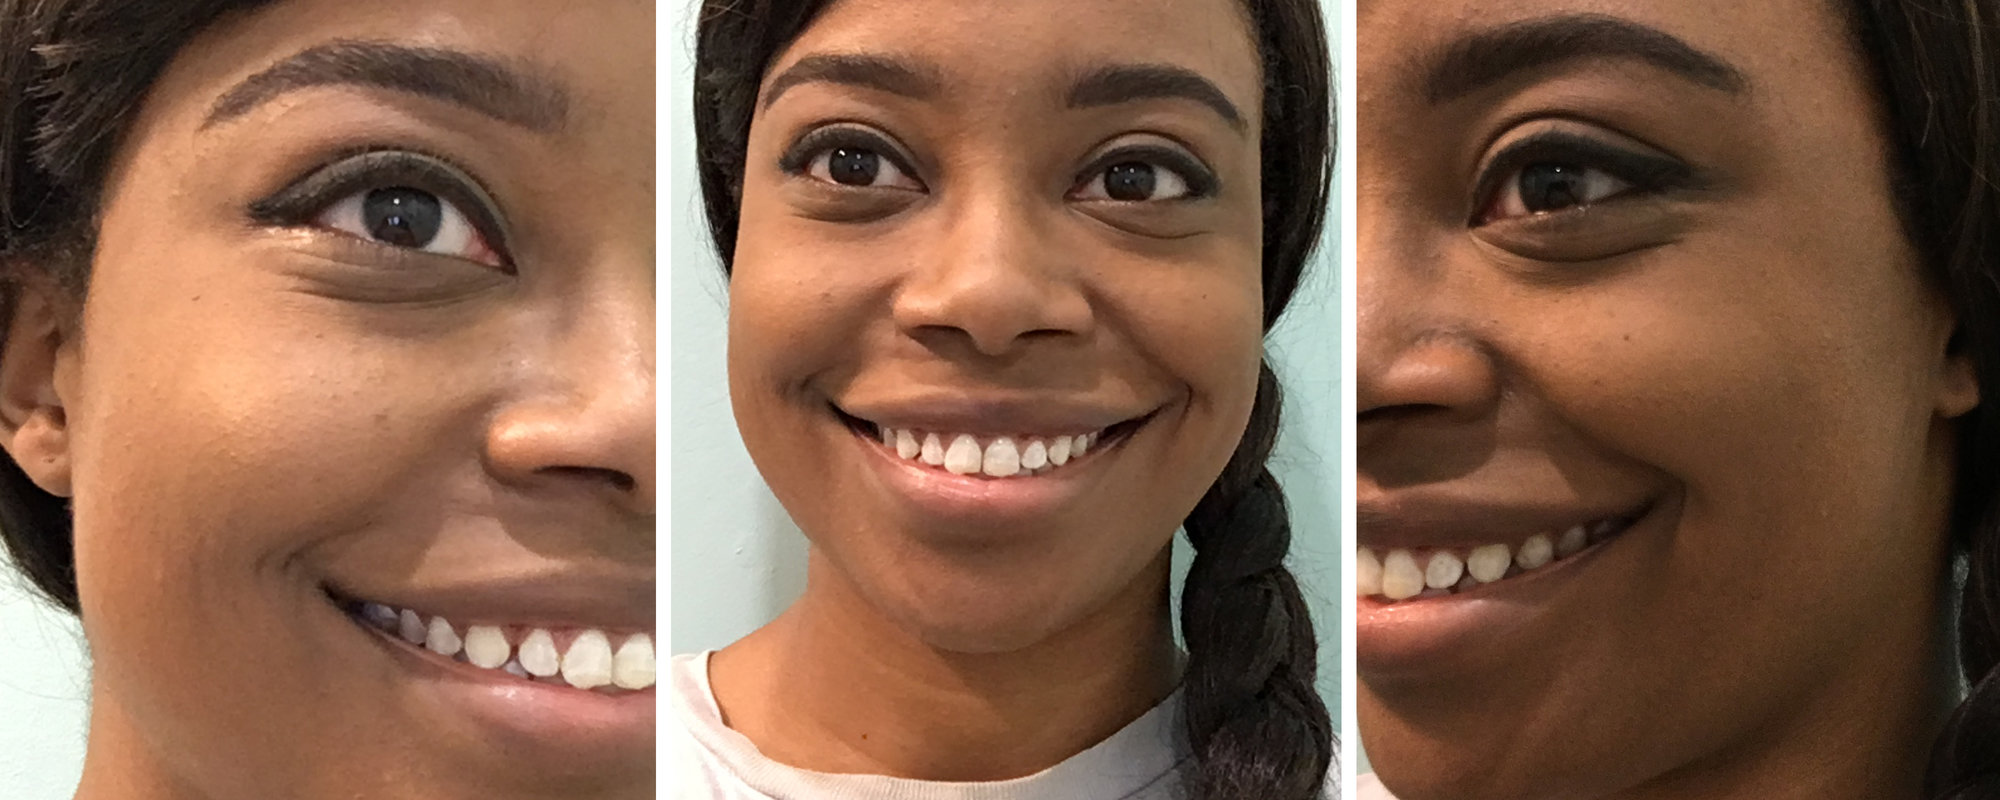
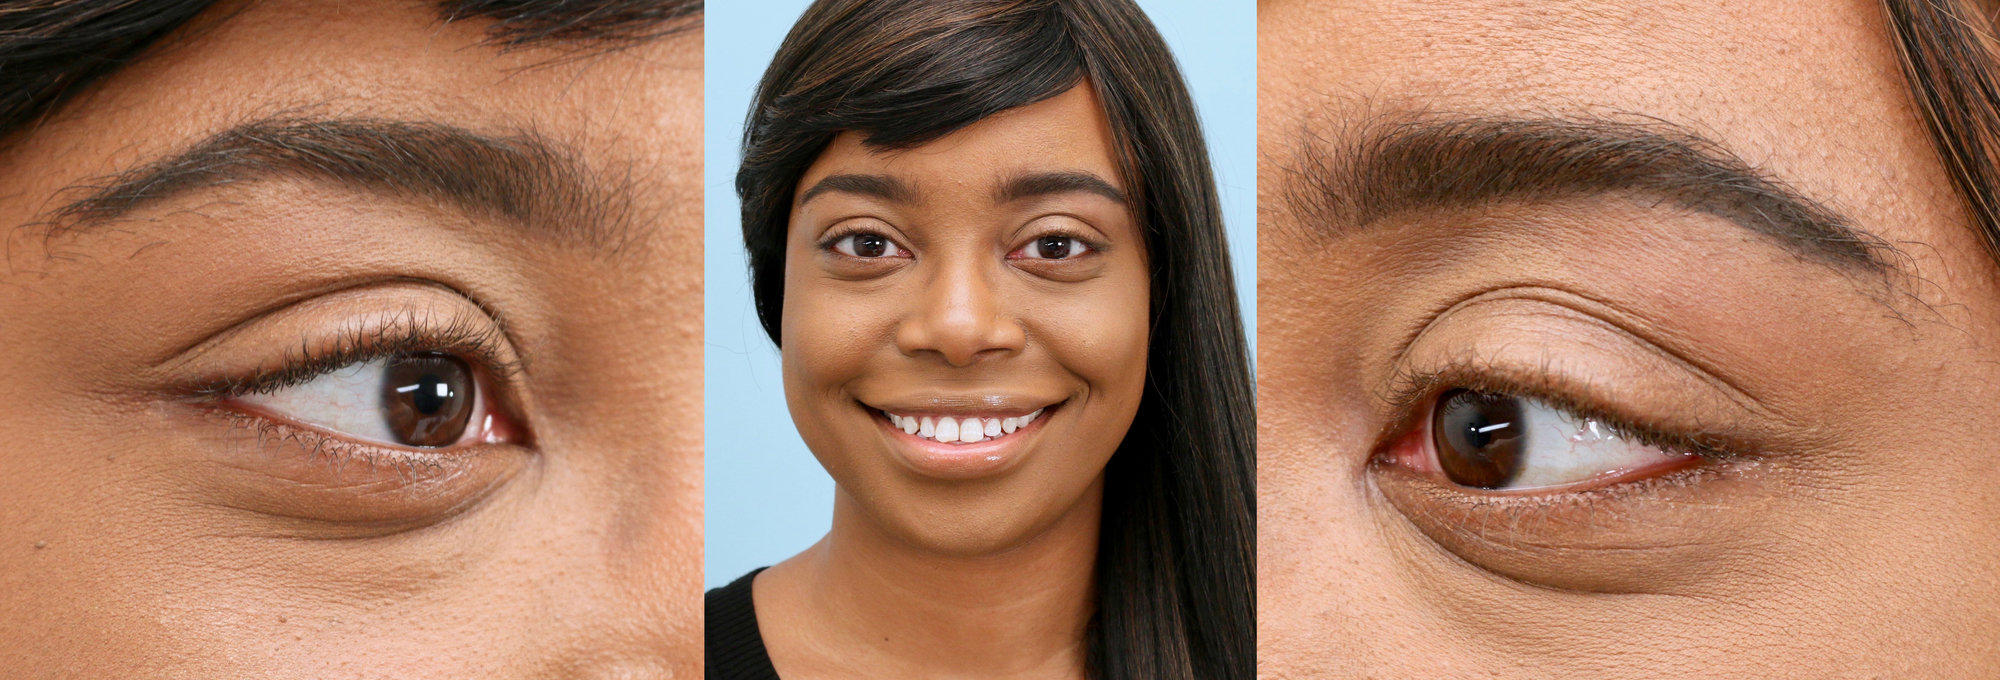
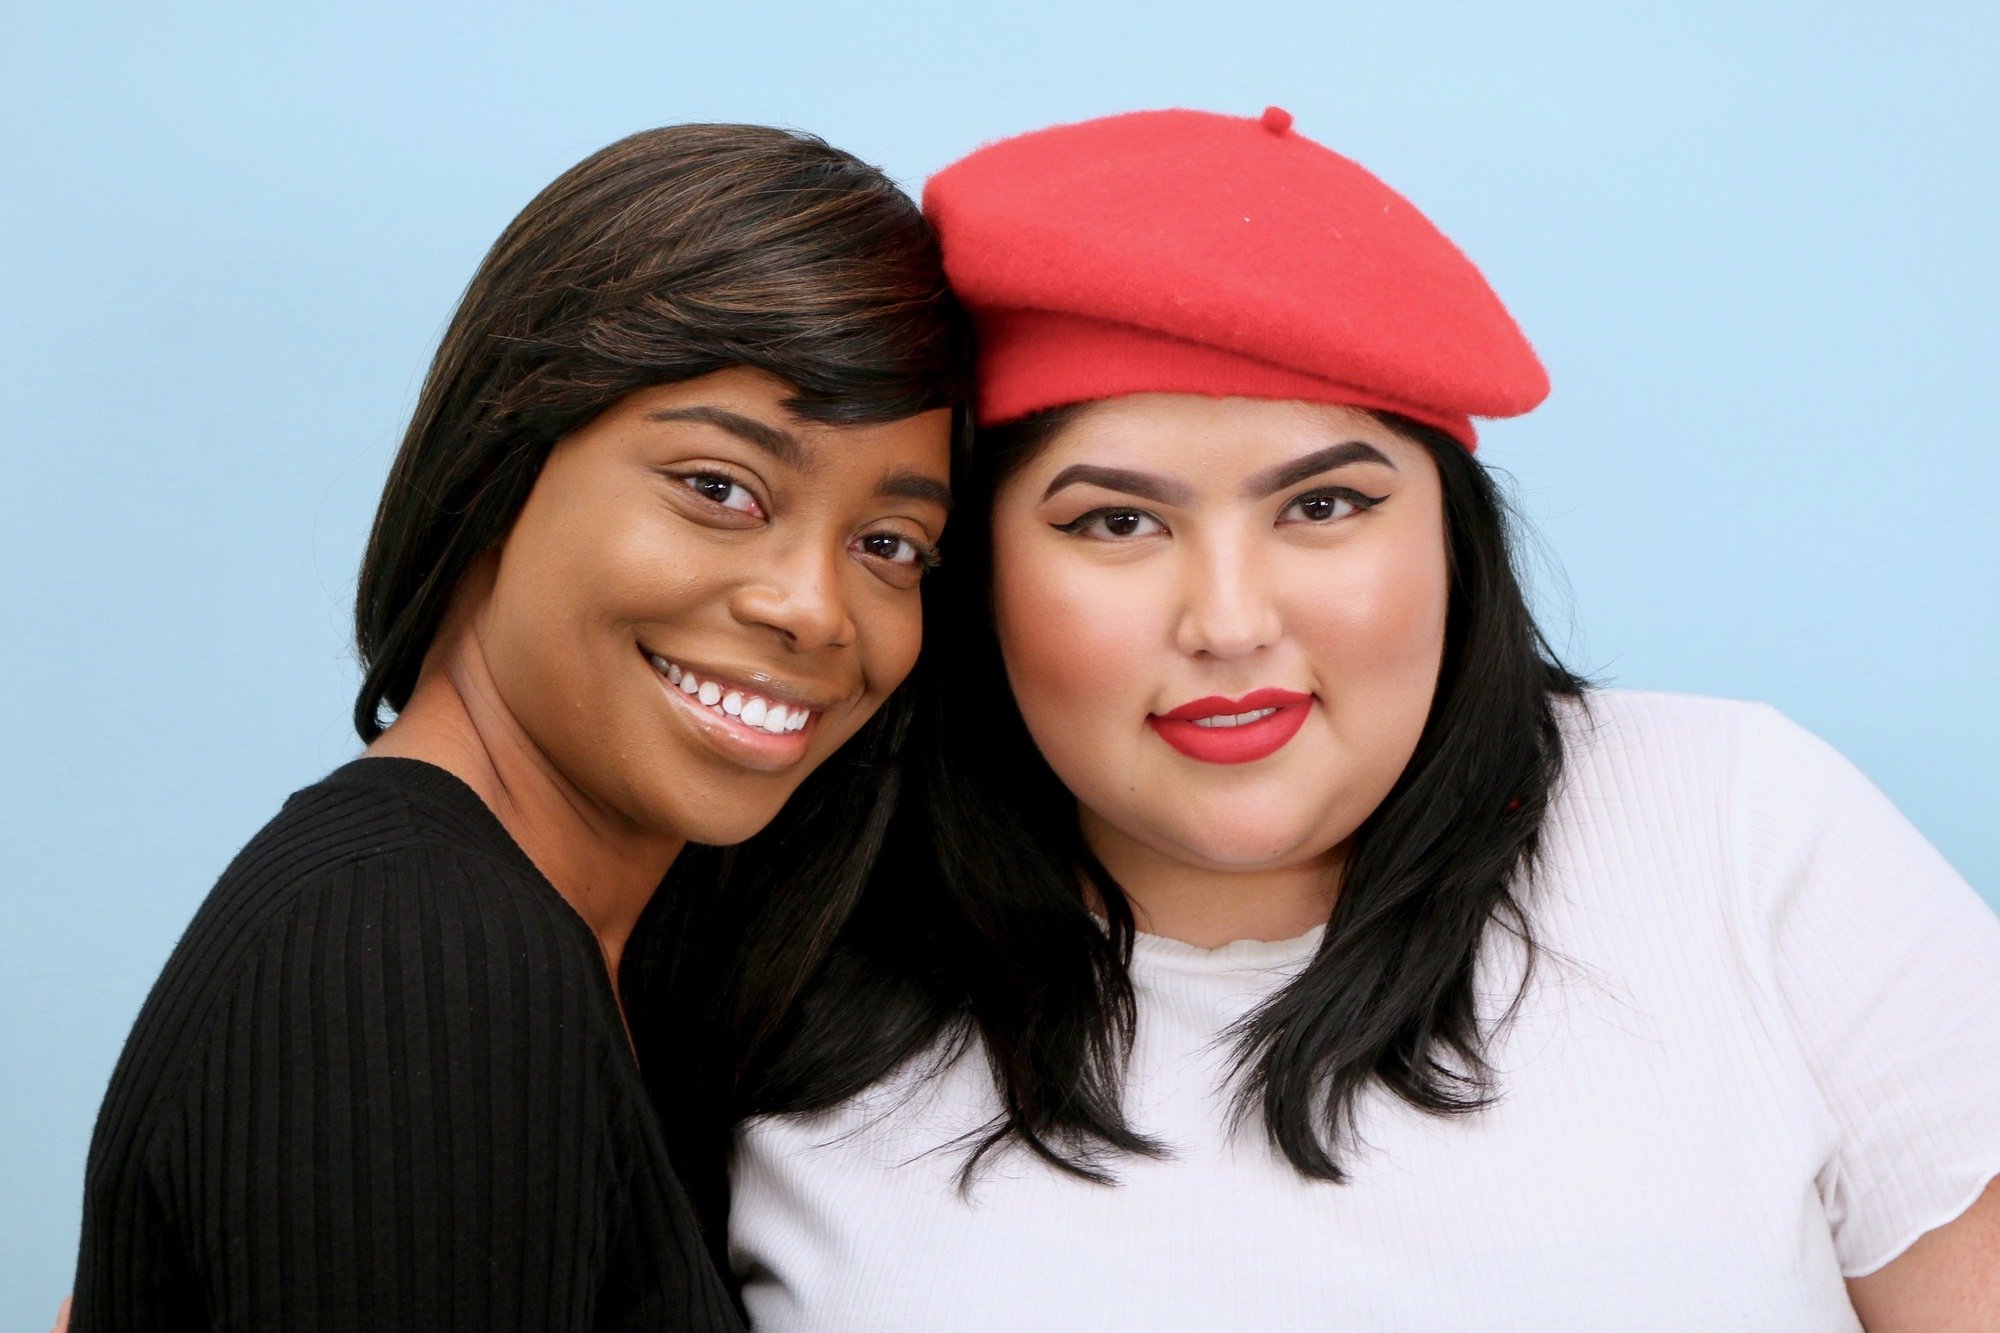
Here’s my day-by-day journey to mastering an eyebrow routine that worked for me. Aesthetically talking, when it comes to my brows, I like the fact that they’re full closer to my nose, but they drastically thin out toward the ends, which I hate. I’ve also always wanted a higher arch, something more dramatic than what I already have. Dipbrow pomade ($18, Sephora) Step two: Fill them in starting from the middle of the brow to the tail. Step three: Fill in the tip of your brow with whatever brow product you have left. Going lighter in the front/beginning of the brows makes them look so much more natural. Step four: Clean around with concealer or foundation. But I can’t lie, I felt a little cocky that my eyebrows looked like this on day four. This was the BOLDEST I’d ever seen my brows, and frankly, I thought I’d done something wrong. Of course, many days later I would realize I was actually on the right track. The bolder, the better! I think I’d had a little too much fun on this day, though, since the ends of these brows almost reached my hairline. Maybe I should’ve pulled back a bit. I’m proud of the eyebrow in the left picture, since the arch was on point. However, I just couldn’t match it to the right, and once again, I left my eyebrow journey frustrated that day. pats self on back I would say that at this point I WAS comfortable with using more product, since before I was afraid of having brows that were TOO defined. So this was progress, in a way. Although it was time for me to get my brows cleaned up, I liked how natural my brows looked. The ends looked full, and there was an arch! Progress at last. Now on to mastering my lip line!